Customising Drop-Down Values – User Guide
Introduction
As Admin in CRM you can add or amend items in drop
down lists letting you customise the items to be more suited to your firm such
as adding items in the sub sector dropdown in Organisations.
Adding to or Amending Dropdown Lists
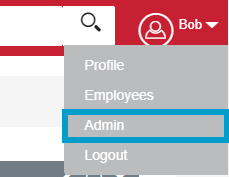
To add to or amend a dropdown list. First navigate to your username in the top right hand corner and in the drop down list select Admin.
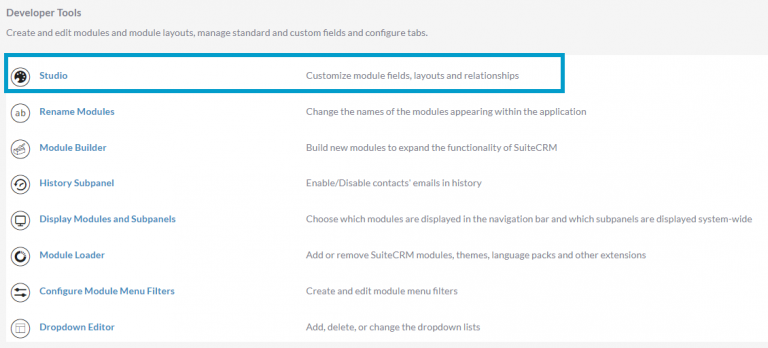
In Admin scroll down to Developer Tools and select Studio
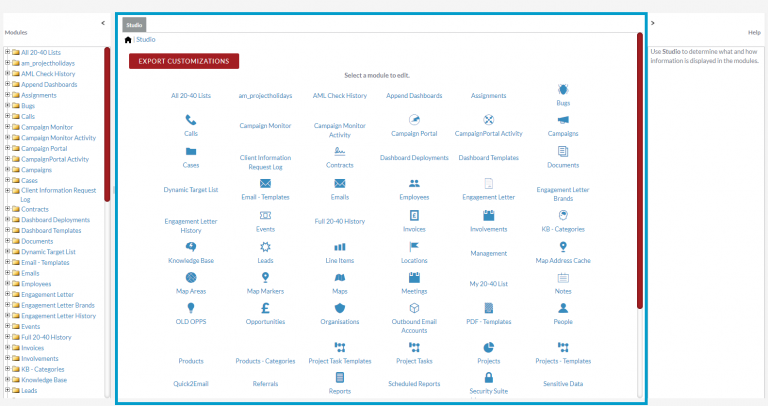
In Studio select the module where the dropdown you’d like to edit is located.
In Module Components select the Fields option.

You can also get to the list of Fields by selecting the Module the dropdown is in and then selecting fields from the options on the left hand side.

In the list of Fields select which dropdown field you would like to amend by clicking on the required field.

On the Edit Field screen navigate to the Dropdown
List section and select the Edit option.

In the Edit Dropdown screen, to add a new Dropdown Item scroll down to the bottom of the list of dropdown options. Enter an Item Name and Display Label. The Item Name field will not be visible to users, the Display Label however is the label that will be visible to users. Make sure to use the same naming conventions as the Dropdown items that are already there. Once entered click Add. Your new dropdown option will be available.
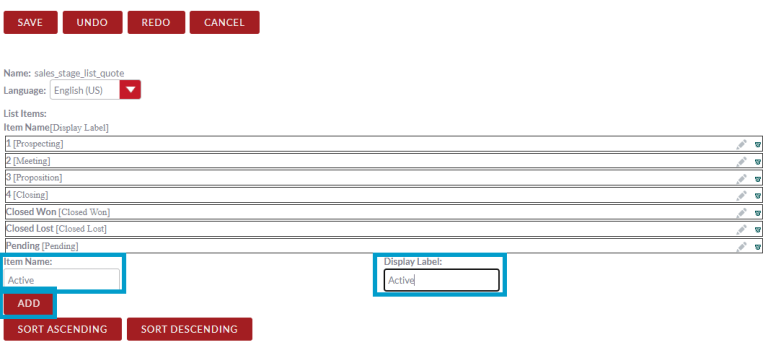
Note: Once an Item Name (field) is set it cannot be changed.
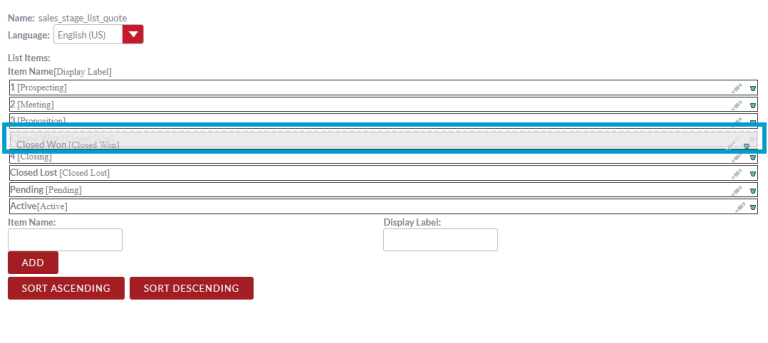
To reorder the items in the list, drag and drop items into the order you desire.
To edit the Display Label of one of the dropdown options select the Edit icon. The display label will become a text box that you can type in to make your changes. Once done click out of the box and the change will be made.
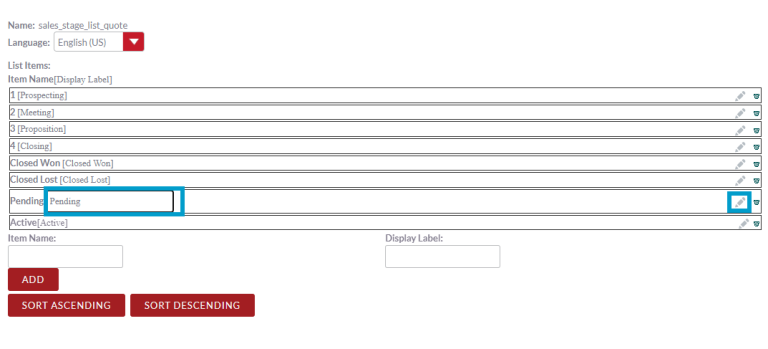
To delete an item from the dropdown list, select the Delete
icon on the row of the item you’d to remove. Once selected the row will be greyed
out. Click the Delete icon again to restore the option.
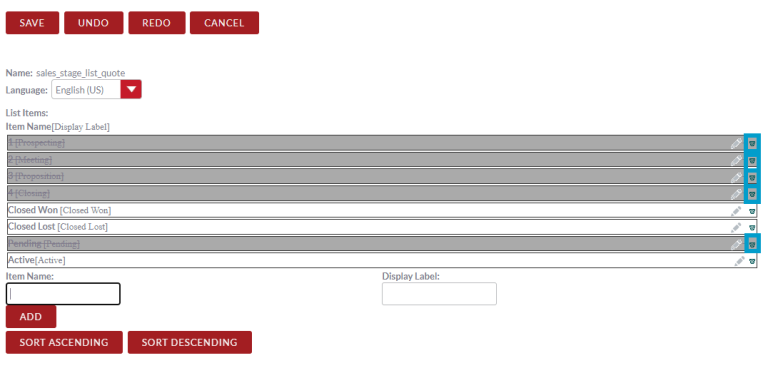
Once you’ve made all the changes you’d like to make to dropdown
list click Save.
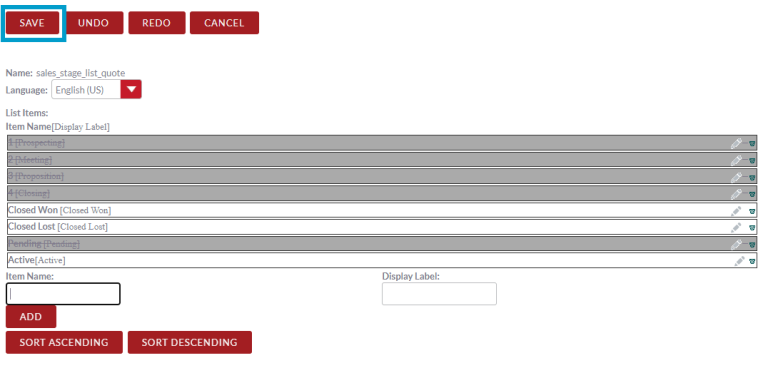
The changes you’ve made will now be applied to that dropdown
list.

Disabling a Drop-Down
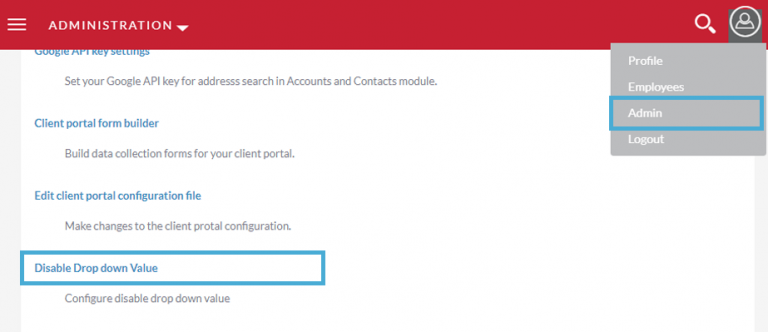
You can also disable drop-down values so other users can no longer select the drop-down options. To do this, navigate to your user name in the top right hand corner and in drop down select Admin. In the Admin section. Scroll down the page until you see “Disable Drop down Value” and click on this.
Navigate to your user name in the top right hand corner and in drop down select Admin. In the Admin section. Scroll down the page until you see “Disable Drop down Value” and click on this.
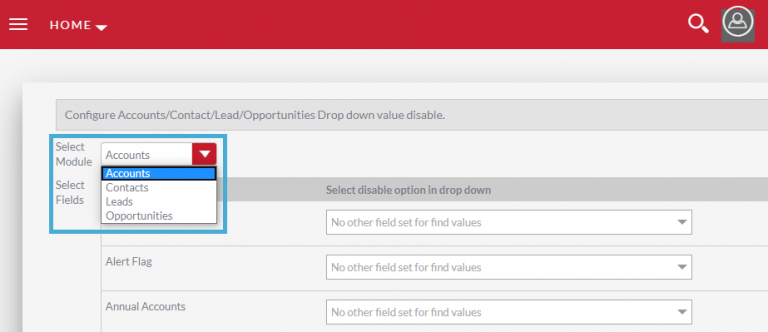
This will now bring you to a page which looks a bit like the screenshot below. You can customise these drop-down across the accounts, contacts, leads and opportunity modules. Select the module containing the drop-down menu you wish to change. All of the fields with drop-down menus will appear.
Now, using the drop-down menus tick which items you do not want to be available.
When you have finished, scroll to the bottom of the page and hit Save
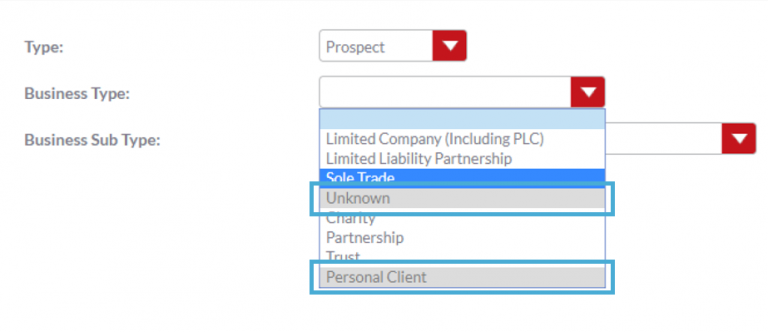
The options you ticked will now be greyed out and cannot be selected.
