This guide walks you through how to configure engagement letter and settings in FibreCRM. You’ll learn how to set default templates, email notifications, branding, and review processes, ensuring a streamlined and automated client onboarding experience.
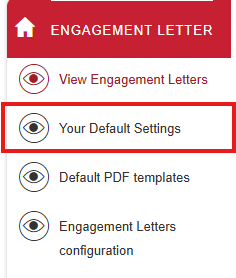
Your Default Settings
Go to the Engagement Letters module in FibreCRM.
In the Default Settings you can set options to be defaulted each time useful if you’re mainly using the same template, email template and portal brand each time
In the default settings:
Choose your default PDF template from the dropdown
Select the default email template (e.g., for requesting a signature).
Choose your default branding for engagement letters (useful if you only use one brand).
Click Save to apply these defaults.
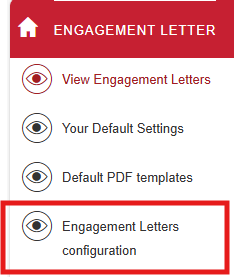
Engagement Letter Configuration
Go to the Engagement Letters module in FibreCRM.
The Engagement Letter Configuration option allows you to set multiple configurations.
Please note you will need to Click Save for each section after making changes.
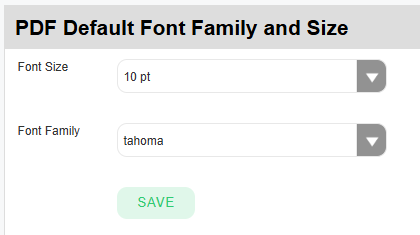
PDF default font size and family.
The first options allows you to set default font and font size for your engagement letters.
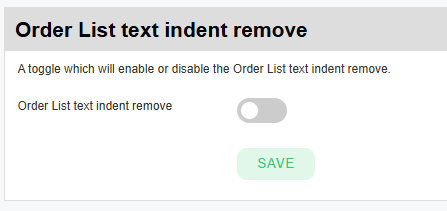
Order List Text
Configure whether to enable or disable ordered list text indent (default is enabled).
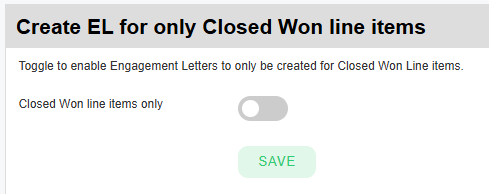
Create Engagement Letter for Closed-Won Line Items Only
Enable this setting if you want only confirmed services schedules to appear in the LOEs.
Toggle Organisation/Account Email Options
Turn on/off the option to be able to send the Engagement Letter to the organisation email addresses.
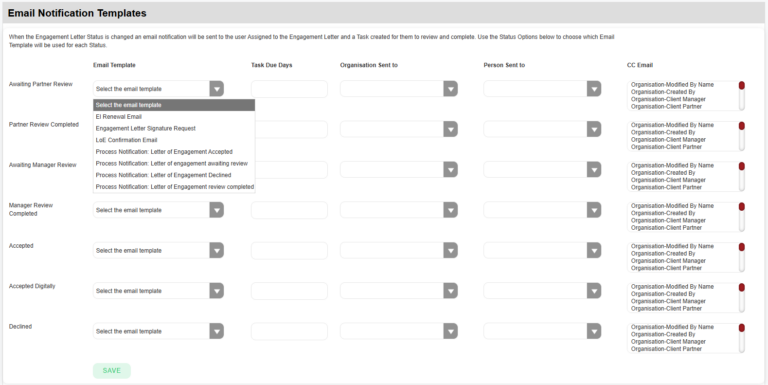
Set Email Notifications for Users
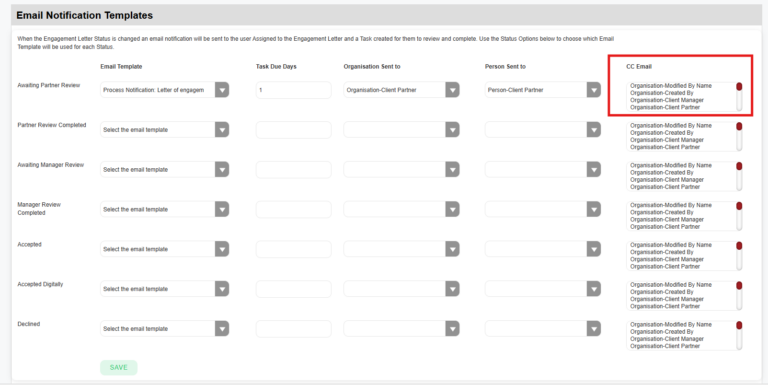
When the Engagement Letter Status is changed an email notification will be sent to the user related to the Engagement Letter for that status and a Task created for them to review and complete. Use the Status Options to choose which Email Template will be used for each Status (e.g., Awaiting Partner Review, Accepted, Declined):
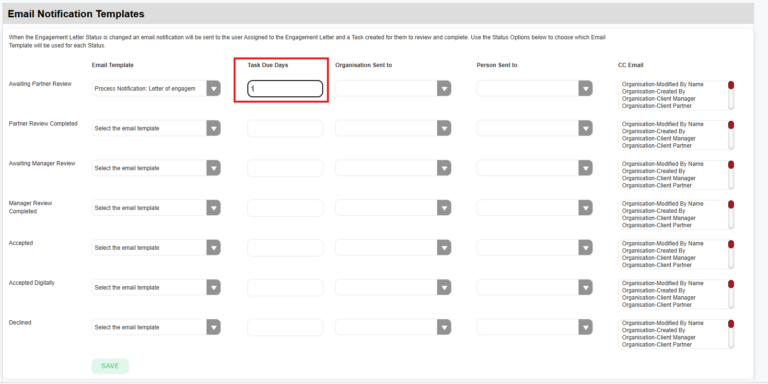
Set the task due date (e.g., 1 day after creation).
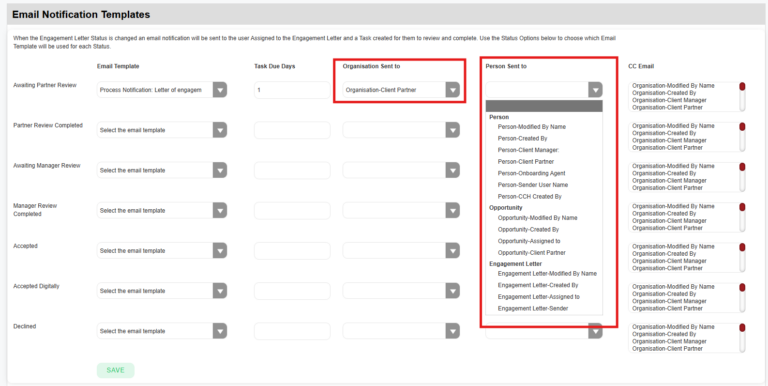
Choose recipients of the notification and task for both organisation and individual Engagement Letter (e.g., partner, manager, assigned user).
You can also set who will be CC’d in the notification.
Set this for all the status’ you require notifications for and once done click Save.
Engagement Letter Expiry
You can set Engagement Letter Expiry Days (default: 28 days).
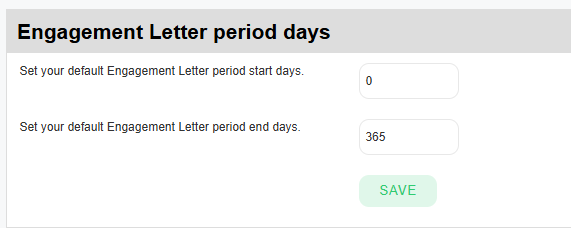
Default EL Period
Set a default Period Start and End using day values (e.g., 0–365 for one year).
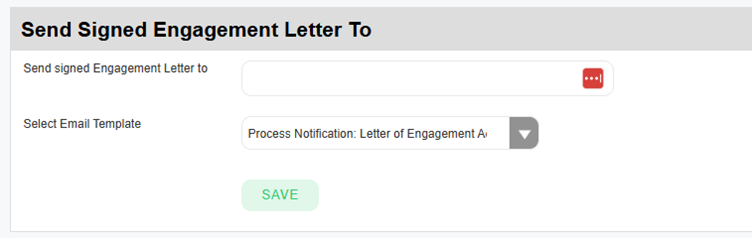
Send Signed Engagement Letter To
Specify an email (e.g., to a document management system). You will also need to select an Email Template.
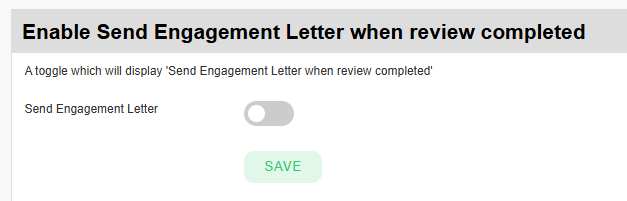
Enable Send Engagement Letter When Review Completed
Enable the toggle to restrict sending until the Partner/Manager review is complete.
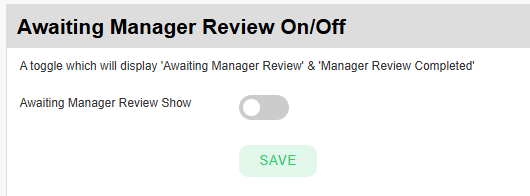
Awaiting Manager Review On/Off
Along with Partner reviews you can also include Manager review. To Show/Hide Manager Review Status: Toggle on/off.
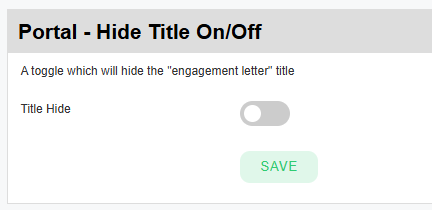
Portal – Hide Title On/Off
Toggle this on/off to remove the Engagement Letter name showing in the signing portal.
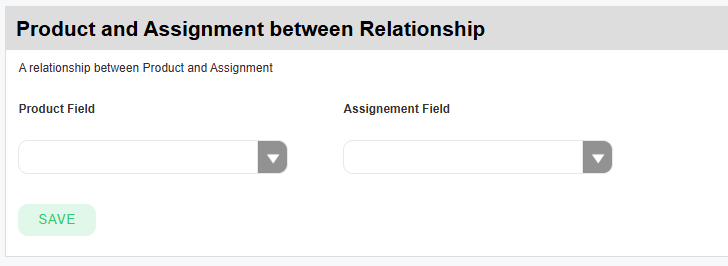
Product and Assignment Relationships
This feature relates to the Engagement Letter Renewals and allows you to map Engagement Letter descriptions between Products and Assignments.
Further details on the Engagement Letter Renewals can be found in the Support Portal Article.
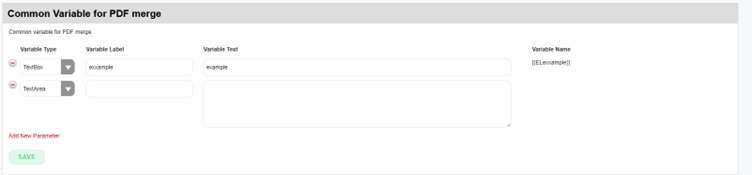
Custom Variables for PDFs merge
In Common Variables for PDFs, you can add variables for the PDF cover letter:
In the first column select a Variable Type which could be a text box or area.
Enter the label for the variable and then enter the variable text.
On save the variable will generate in the Variable Name column which can then be used.
To add another variable select Add New Parameter
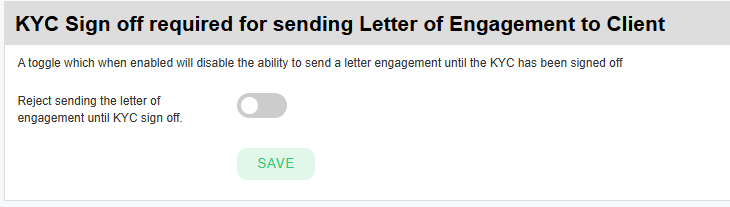
KYC Sign Off Required for Sending LOE to Client.
You also have the ability to prevent the Engagement Letter being sent until the KYC for the client has been signed off. Toggle on to enable the feature.
Table of Contents
We use cookies to assess how people are using our website, only necessary cookies are enabled. Cookie settingsACCEPTREJECT
Cookie Policy
Privacy Overview
This website uses cookies to improve your experience while you navigate through the website. Out of these cookies, the cookies that are categorized as necessary are stored on your browser as they are essential for the working of basic functionalities of the website. We also use third-party cookies that help us analyze and understand how you use this website. These cookies will be stored in your browser only with your consent. You also have the option to opt-out of these cookies. But opting out of some of these cookies may have an effect on your browsing experience.
Necessary cookies are absolutely essential for the website to function properly. This category only includes cookies that ensures basic functionalities and security features of the website. These cookies do not store any personal information.
Any cookies that may not be particularly necessary for the website to function and is used specifically to collect user personal data via analytics, ads, other embedded contents are termed as non-necessary cookies. It is mandatory to procure user consent prior to running these cookies on your website.
Functional cookies help to perform certain functionalities like sharing the content of the website on social media platforms, collect feedbacks, and other third-party features.
Performance cookies are used to understand and analyze the key performance indexes of the website which helps in delivering a better user experience for the visitors.
Analytical cookies are used to understand how visitors interact with the website. These cookies help provide information on metrics the number of visitors, bounce rate, traffic source, etc.
Advertisement cookies are used to provide visitors with relevant ads and marketing campaigns. These cookies track visitors across websites and collect information to provide customized ads.