In CRM you can create Portal Branding for your Engagement Letter + ProposalPortals where your client will accept and sign or decline the Proposals and Engagement Letters sent to them from the CRM. If you have different departments or sections of your firm that has different branding you can create multiple different portal brands that a user can choose from when sending an Engagement Letter or Proposal.
Creating a Portal Brand
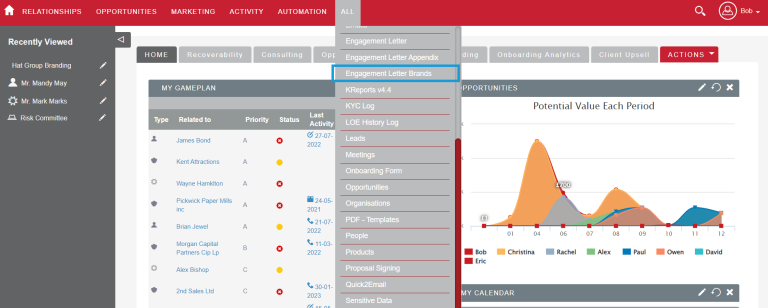
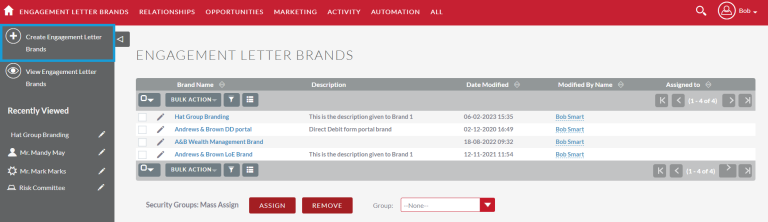
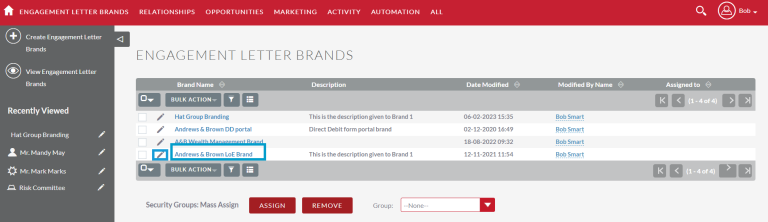
To create a Portal Brand first navigate to the Engagement Letter Brands module located in the All tab.
Once you’re in the module select the Create Engagement Letter Brand option.
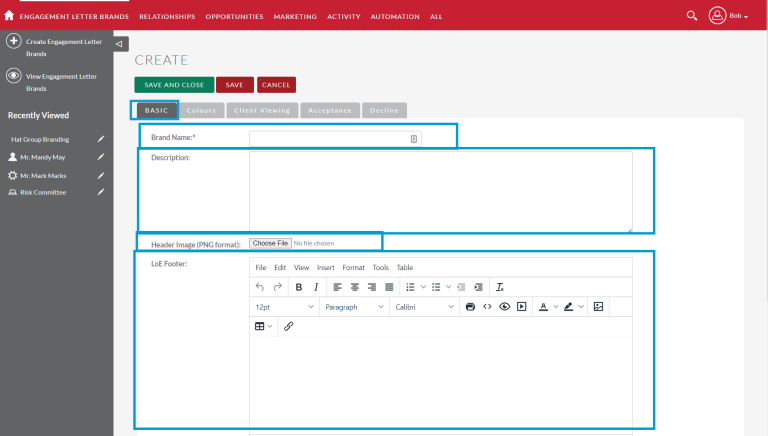
On the create screen you’ll see 5 tabs across the top which contains different information you can customise as part of your Portal Brands.
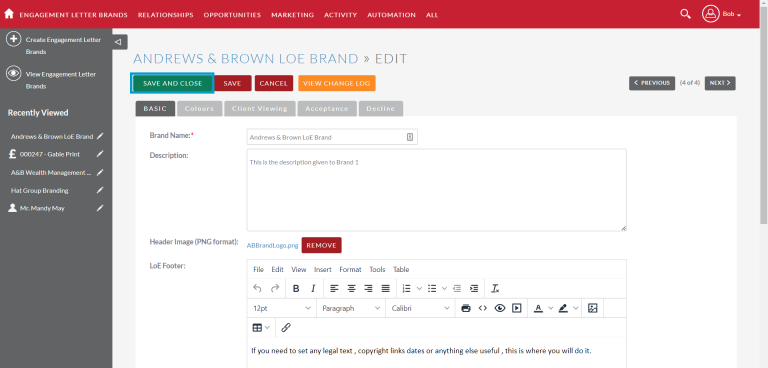
Basic Tab
In the Basic tab you have the Brand Name field where you can name the branding and it will be used when a user is selecting a portal brand.
The Description field lets you enter a description for the branding or a note to let users know that the branding is to be used for.
Select Choose File to upload an image that will be used as the Header Image on the portal. Note: The image must be uploaded in PNG format.
In the LOE footer field you can enter text/images that will at the footer of the portal. This section is also where you’ll set any legal text, copyright link dates or anything else useful if you need to.
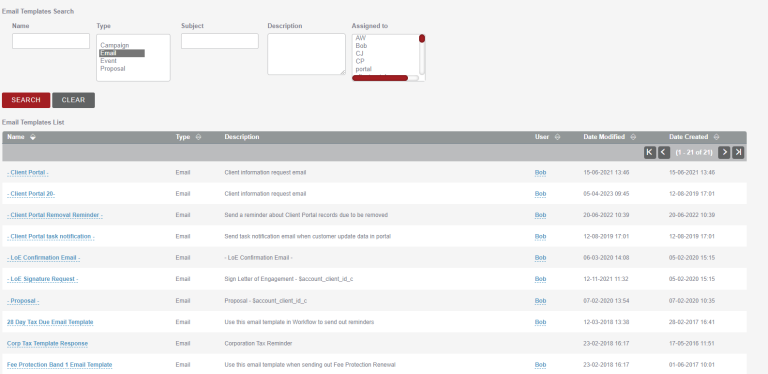
Use the Select Arrow to choose the email that your client will receive once they’ve accepted and signed the Engagement Letter/Proposal in the Confirmation Email Template field.
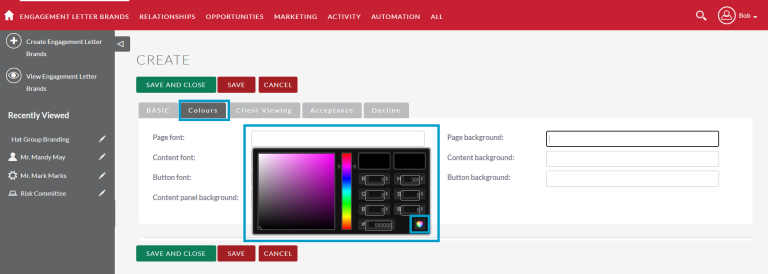
In the Colours tab you can select the colour of the different items in the branding such as; Page Font, Content Font, Button Font, Content Panel Background, Page Background, Content Background and Button Background.
To set a colour for any of the items click into the relevant field and the colour chooser will appear. Select your colour and then click the colour icon at the bottom right hand corner of the pop up to set the choice. The colour chosen will then appear in the field.
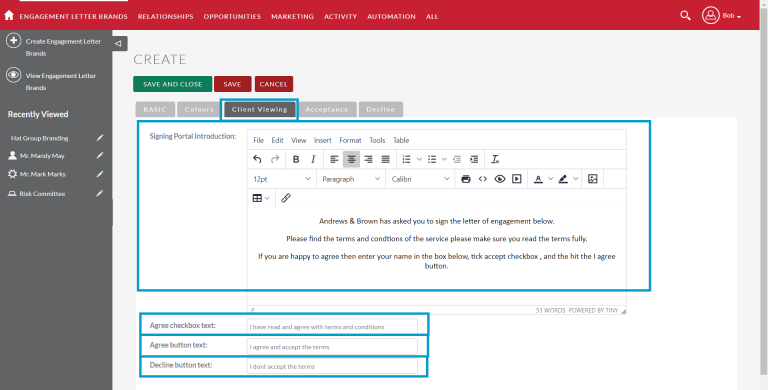
Client Viewing Tab
In the Client Viewing tab you can put a Signing Portal Introduction which will at the top of the Portal. Here it is recommended to enter some instructions for the user such as asking to read the Engagement Letter/Proposal and then how to sign.
In the next field you can enter the text that will be shown on the Agree Checkbox.
You can also enter text that will be shown on the Agree and Decline buttons.
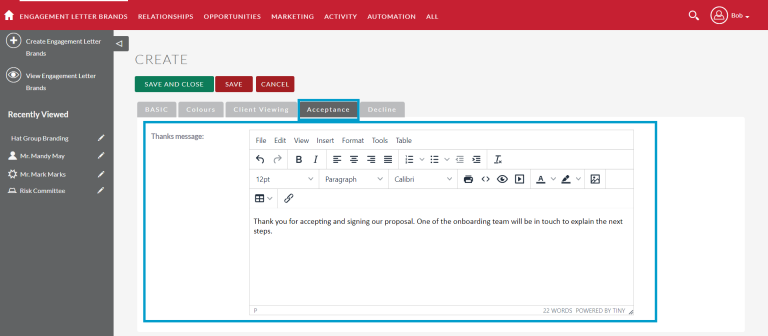
Acceptance Tab
In the Acceptance tab you enter the thank you message your client will receive once they’ve have accepted and signed the Proposal/Engagement Letter.
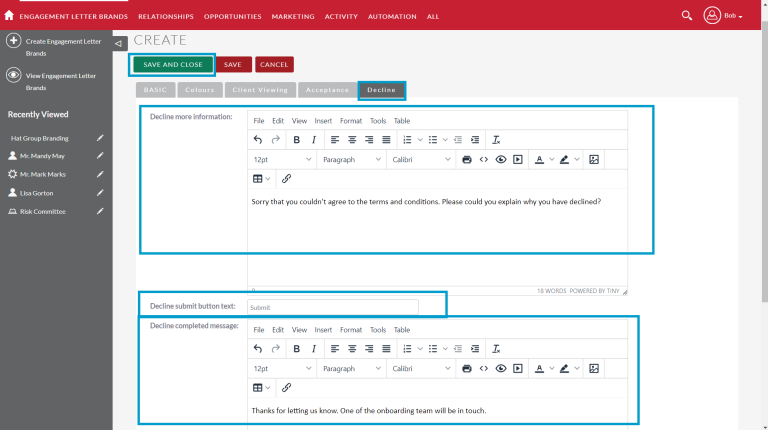
Decline Tab
In the Decline tab you can enter a message to request more information on why the Proposal/Engagement Letter was declined in the Decline More Information field.
You also have the option to edit the text that is shown in the Decline Submit button.
The final field in this tab you add information too is the Declined Completed Message which is where you can enter a message containing information once the client has submitted their declined reasons.
Once you’ve set the branding to how you would like it click the Save & Close button. The branding you’ve just created will now be available to use when sending a Proposal or Engagement Letter.
Ammending a Portal Brand
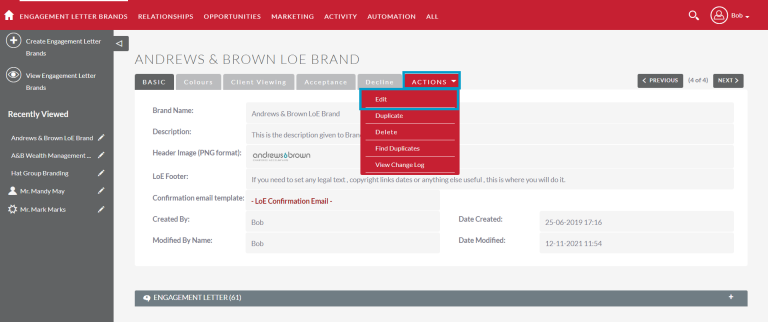
To amend an existing portal brand navigate to the Engagement Letter Brands module and in the list of brand click the name of the branding you’d like to edit or the pencil icon to be taken straight to the edit view of the branding record.
In the portal brand record select the Actions Menu and then select Edit.
Go through the branding tabs and make any changes that you need to. Once done click the Save & Close button. The changes you’ve made will now be on your portal branding when selected by a user.
Table of Contents
We use cookies to assess how people are using our website, only necessary cookies are enabled. Cookie settingsACCEPTREJECT
Cookie Policy
Privacy Overview
This website uses cookies to improve your experience while you navigate through the website. Out of these cookies, the cookies that are categorized as necessary are stored on your browser as they are essential for the working of basic functionalities of the website. We also use third-party cookies that help us analyze and understand how you use this website. These cookies will be stored in your browser only with your consent. You also have the option to opt-out of these cookies. But opting out of some of these cookies may have an effect on your browsing experience.
Necessary cookies are absolutely essential for the website to function properly. This category only includes cookies that ensures basic functionalities and security features of the website. These cookies do not store any personal information.
Any cookies that may not be particularly necessary for the website to function and is used specifically to collect user personal data via analytics, ads, other embedded contents are termed as non-necessary cookies. It is mandatory to procure user consent prior to running these cookies on your website.
Functional cookies help to perform certain functionalities like sharing the content of the website on social media platforms, collect feedbacks, and other third-party features.
Performance cookies are used to understand and analyze the key performance indexes of the website which helps in delivering a better user experience for the visitors.
Analytical cookies are used to understand how visitors interact with the website. These cookies help provide information on metrics the number of visitors, bounce rate, traffic source, etc.
Advertisement cookies are used to provide visitors with relevant ads and marketing campaigns. These cookies track visitors across websites and collect information to provide customized ads.