Admin Guide – How to Edit the Quick Create View
Introduction
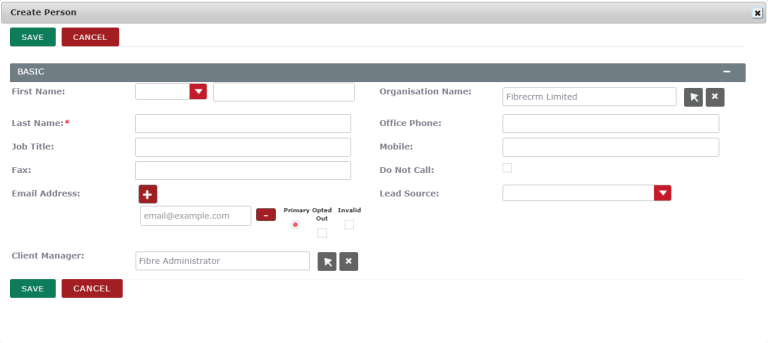
In CRM you can quick create a record from a subpanel such as creating a new Person record in the Involvements Subpanel of an Organisation. The Quick Create form appears in the subpanels for the module when the Create button is clicked. As an Admin of CRM you can select and edit the fields that are on the Quick Create form.
Editing the Quick Create View
To edit the quick create view screen first navigate to your username in the top right hand corner and in the drop down list select Admin.

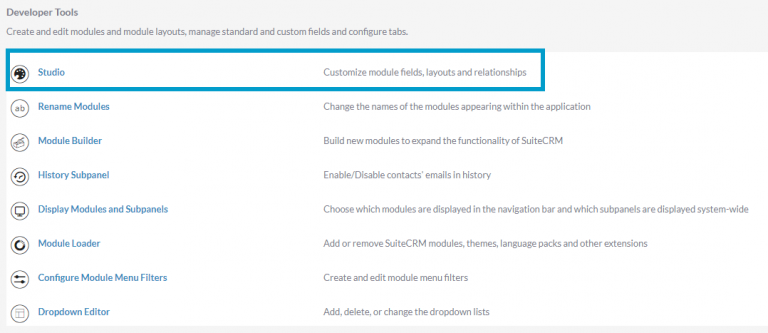
In Admin scroll down to developer tools and select Studio
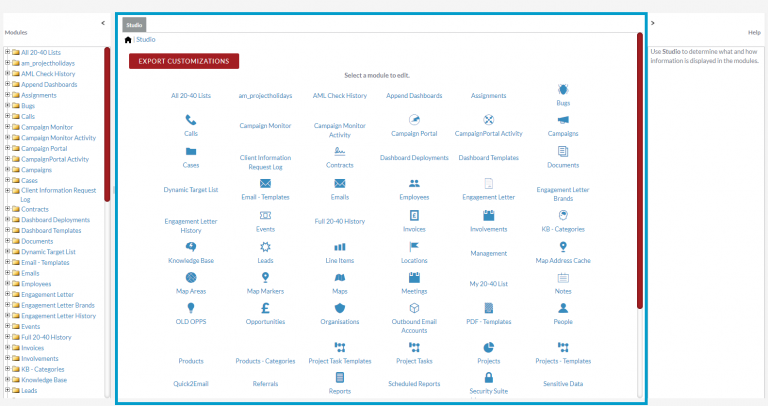
In Studio select the module you’d like to edit.
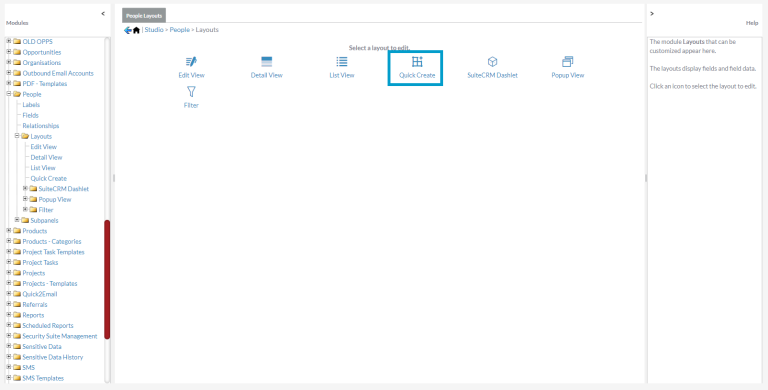
You’ll then have options for which module component you’d like to edit, select the Layout option.
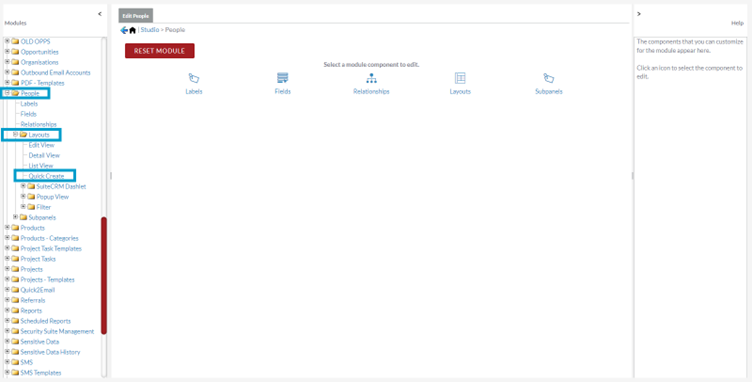
You can also navigate to which layout you’d like to edit by using the tree on the left hand side. Select the + button next to the module name to open up the options. Then select the + button next to Layouts, to find Quick Create.
The Layout area contains fields that are currently displayed within the Quick Create form for that module.
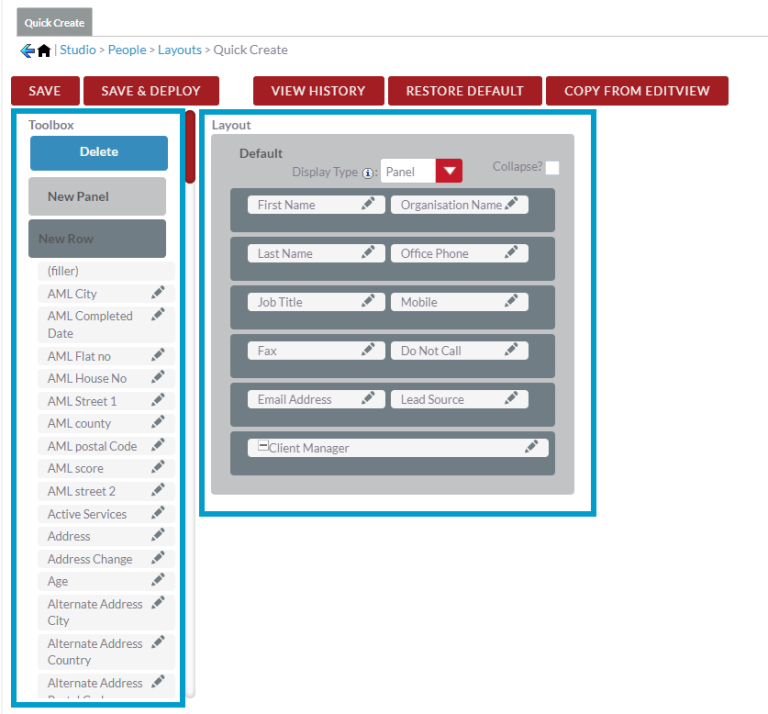
The Toolbox contains layout elements such as the Delete, New Panel and New Row option. The Toolbox also contains the fields that can be added to the layout.
Make changes to the layout by dragging and dropping elements and fields between the Toolbox and the Layout and within the Layout itself.
Note: As it suppose to be a quick create view remember to not add too many fields on this screen, more information can be added when editing the record on the main screen.
The grey boxes in the layout are rows. To add a New Row, drag New Row to the right hand side and then drag and drop fields into the that row for the Tool Box.
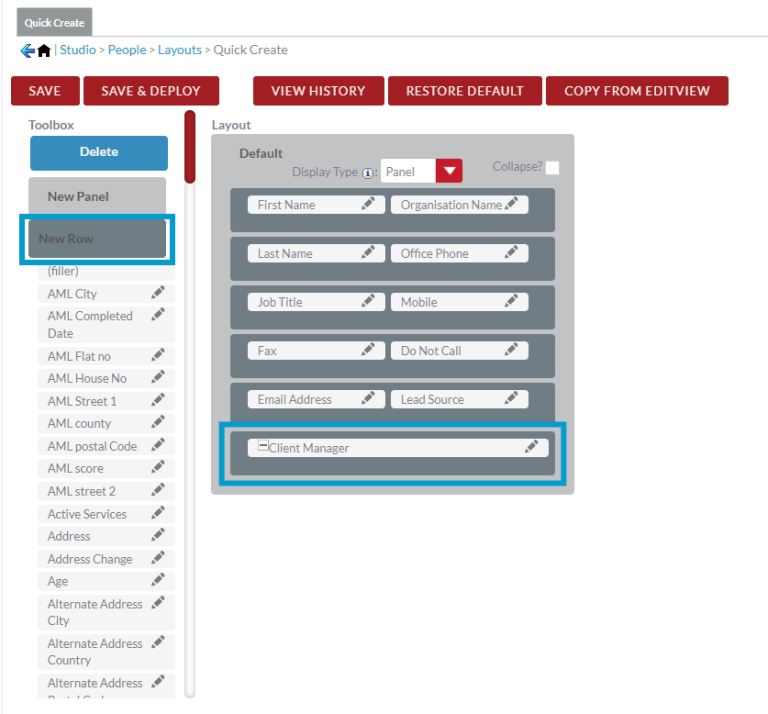
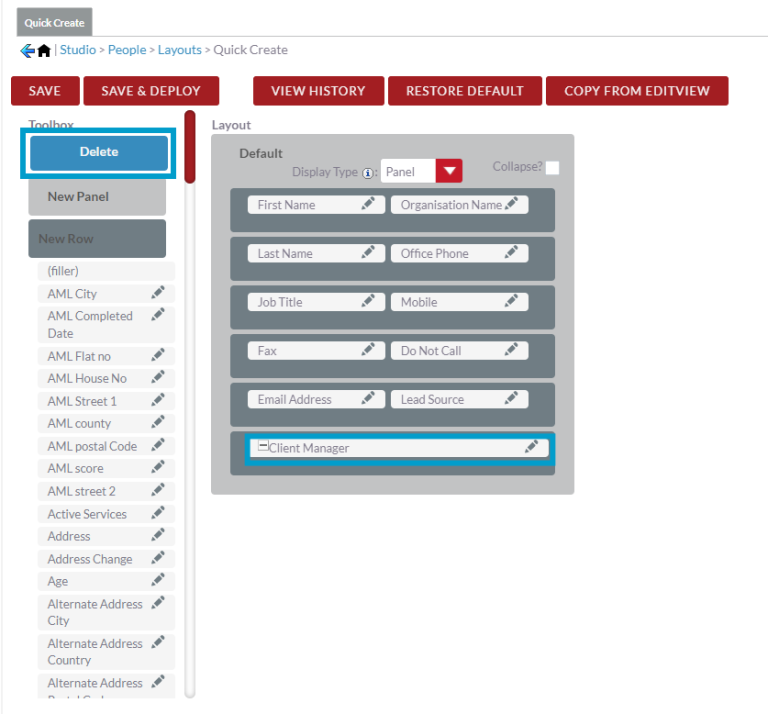
To remove a field from the layout, drag and drop the field onto the Delete button. Once removed the field will be available in the Toolbox to re-add to the Layout if you’d like.
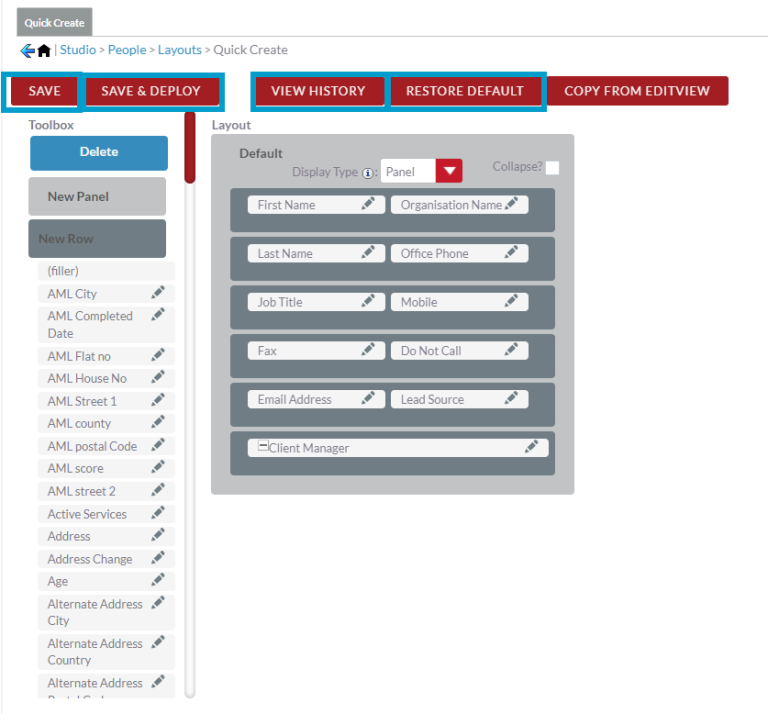
If you select the Save button it will preserve the
changes you made to the layout since the last time you saved it. The changes
will not be displayed in the module until you Deploy the saved changes.
Select Save & Deploy to save all changes you made
to the layout since the last time you saved it, and to make the changes active
in the module. The layout will immediately be displayed in the module.
Click View History to view and restore a previously
saved layout from the history and Restore Default to restore a view to
its original layout.
Once you’ve Saved & Deployed your chosen quick create layout you’ll be able to see the layout when quick creating a record for that chosen module.
Cheat Sheet
To download the Edit the Quick Create View Cheat Sheet click here
