Installing Implicit (Outlook plugin) – User Guide
Supported Platforms
- SuiteCRM
- Exchange 2007 – 2016 & Zimbra
- Outlook 2007 – 2016 & Office 365
- Tablets: Surface / Windows 10
Preparing for the installation
Before running the Outlook Add-in installation please make sure of the following:
- Your computer is connected to the network and you are able to browse the internet
- If you are connected via a proxy, make sure that your Internet Explorer browser is properly configured to use the proxy as the installer will need to download and install several Microsoft components from the Microsoft site
- Close any open Office applications.
Installing the Pre-Requisites Components
Before installing the Outlook add-in, the installer will check the desktop for components that are required for Outlook add-ins to work and install/upgrade any missing component:.Net Framework 2.0 and above (Outlook 2007) and .Net Framework 4.x client profile (Outlook 2010 / 2013 / 2016)
- Microsoft Sync Framework 2.0 Core Components and Provider Services
- Microsoft Office 2007 Primary Interop Assemblies (Outlook 2007 only).
- Microsoft SQL Compact Edition.
- Microsoft Visual Studio for Office second Edition Runtime
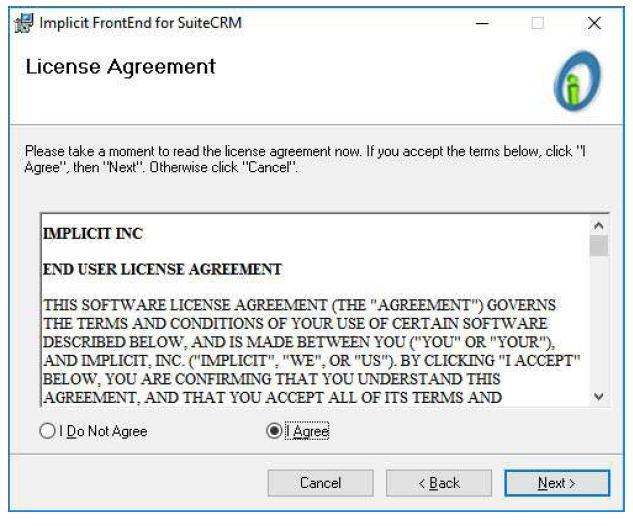
You will first need to accept the End User License Agreement (EULA) for each of the components.
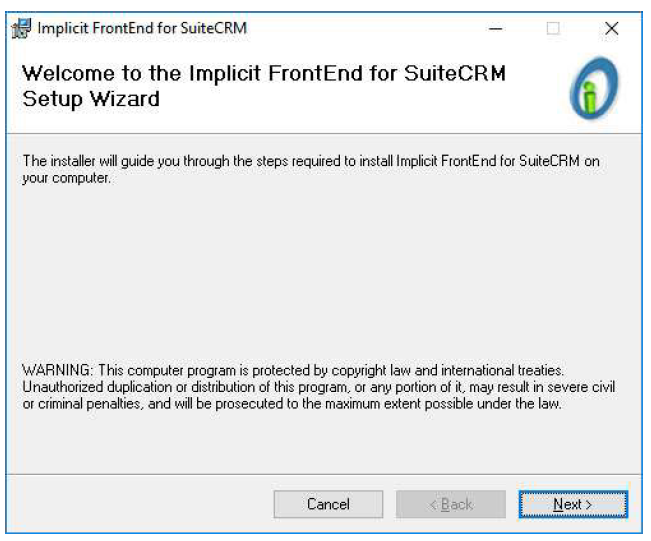
Installing FrontEnd Outlook Add-In
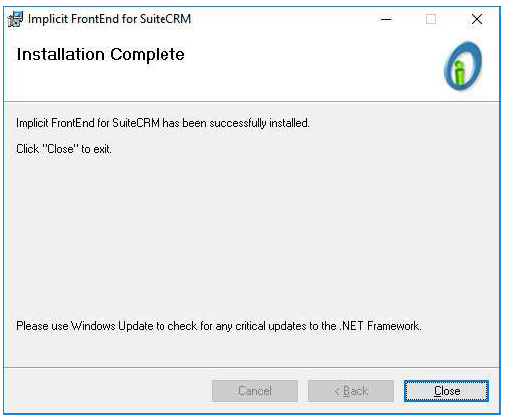
Once the installation of the pre-requisites is completed, the installer will begin installing the Implicit FrontEnd Add-in.
Click Next to continue. You will be prompted accept the Implicit FrontEnd EULA:
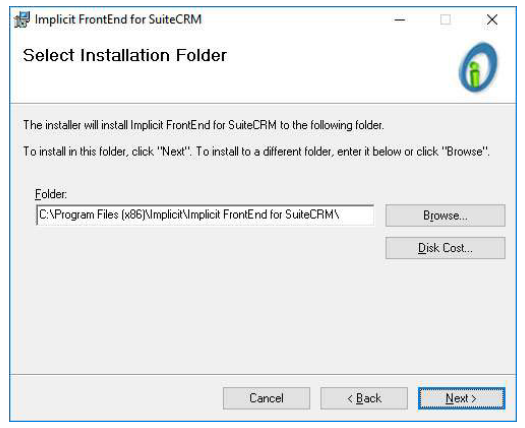
Next, you will be prompted to select the installation folder. By default the installation folder will be set to:
\Program Files\Implicit\Implicit FrontEnd. Choose Browse to select a different folder. Then click ‘Next’.
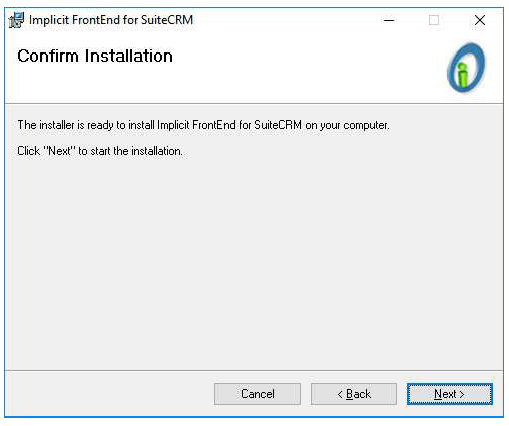
Next, the installer will be prompt you to confirm the installation and start copying the files:
Licensing and Login
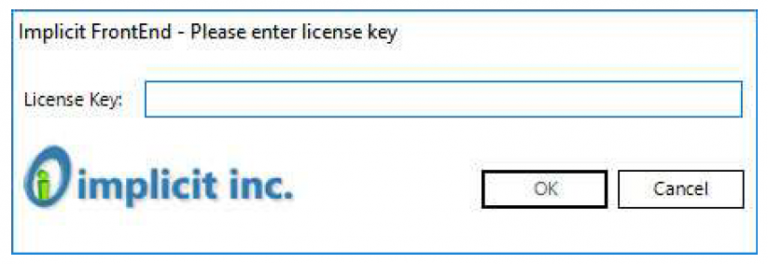
Upon Launching Outlook for the first time after install, you’ll be prompted to enter the Implicit FrontEnd license key:
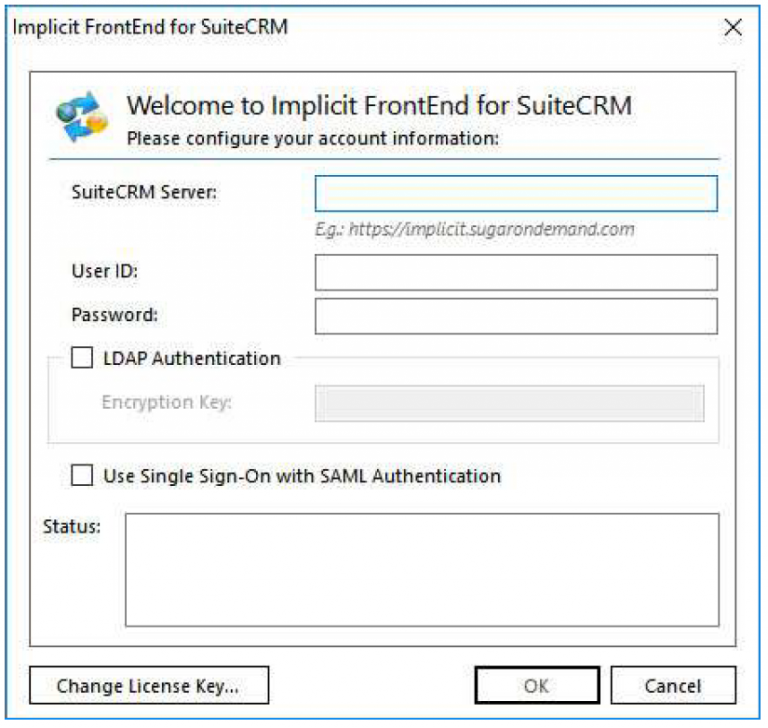
Followed by FrontEnd login dialog:
Enter the SuiteCRM server URL and the user name and password that you use to login to SuiteCRM.
Make sure to specify http or https otherwise http is assumed.
Sync Configuration
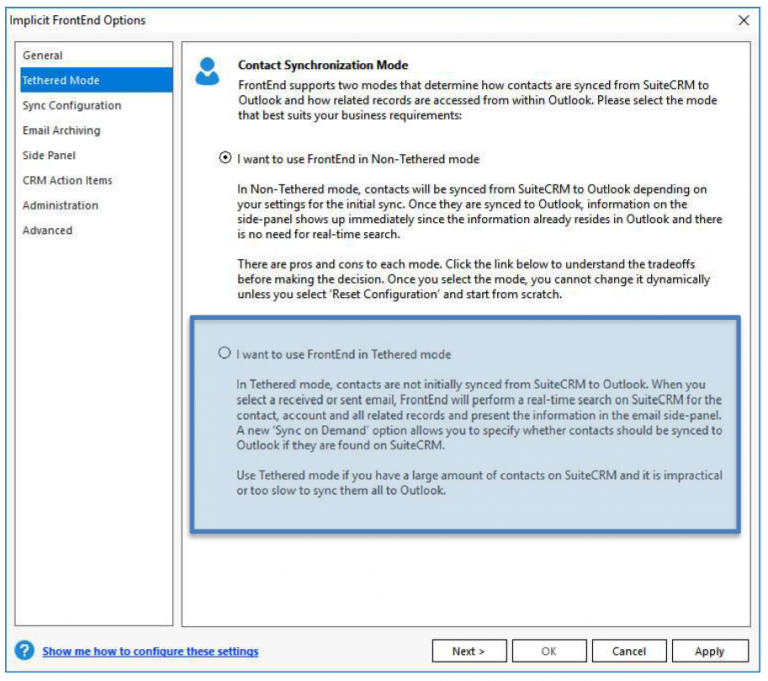
The first decision you need to make when configuring synchronisation is whether to use Tethered or Non-Tethered mode for contact synchronisation.
FibreCRM recommends Tethered mode as the default setup option.
This mode determines how contacts are synced from SuiteCRM to Outlook and how related records are accessed from within Outlook.
In Tethered Mode, contacts are not synced from SuiteCRM to Outlook during the initial sync phase. When FrontEnd requires information about a contact or any of its related records, it will perform a real-time search on SuiteCRM to retrieve the contact information and all of its relationships. The contact will then be synced to Outlook so next time, the information will be immediately available. This is what we refer to as ‘Sync on Demand’.
After selecting tethered mode, click ‘Next’ to proceed with configuring the sync settings for each module.
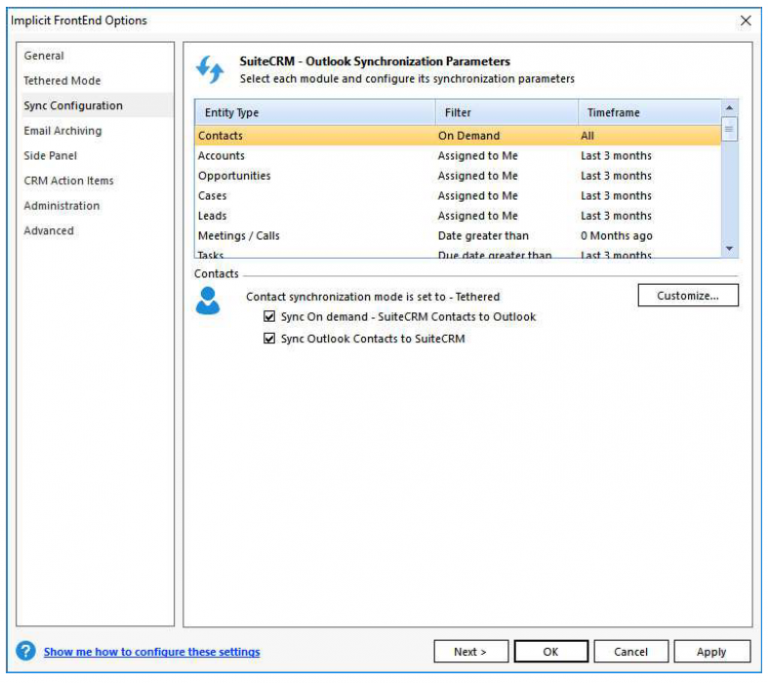
Contacts Sync - Tethered Mode
If you’ve selected tethered mode, you can enable the following:
- Sync on Demand – Upon finding a contact in SuiteCRM (when performing to real-time search), sync it to Outlook
- Sync contacts from Outlook to SuiteCRM
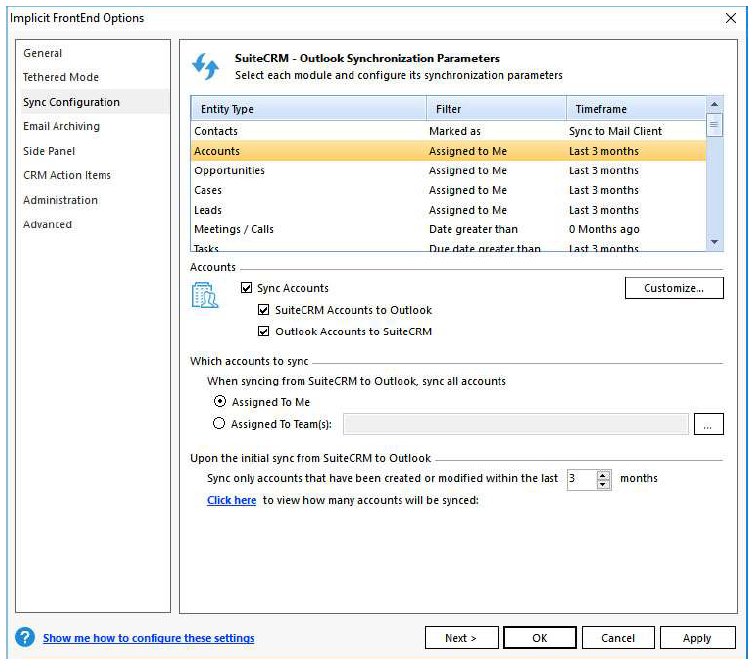
Accounts Sync
- You can turn on/off Accounts sync as well as select the direction to sync Accounts: SuiteCRM to Outlook and Outlook to SuiteCRM
- You can choose to sync accounts that are assigned to you individually or if you are a member of one or more teams, you may select the teams.
- For the initial sync, you may limit the accounts to sync only those accounts that have been created or modified within the selected time-frame.
Click the link to view how many accounts meet the sync criteria that you specified.
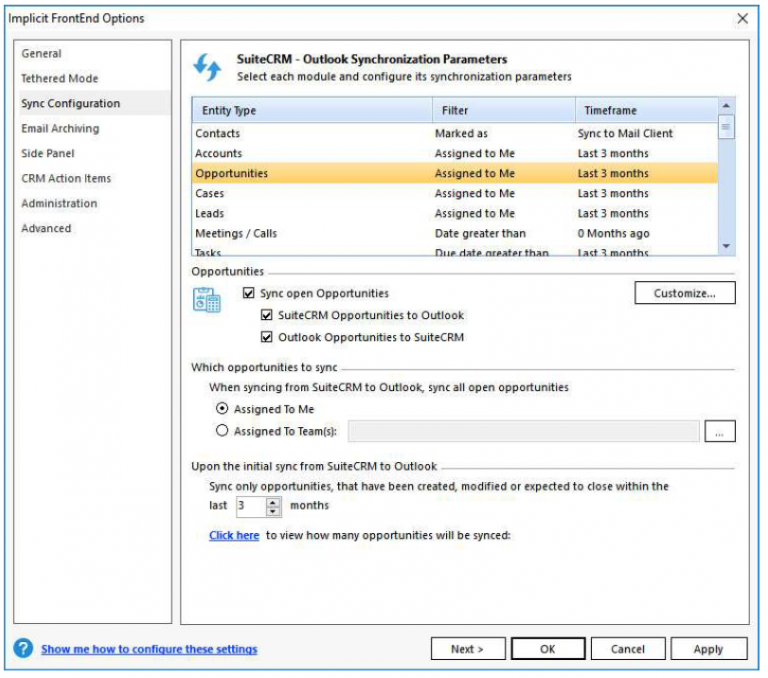
Opportunities/Services Sync
- Note that your CRM may use the term ‘Services’ to describe ‘Opportunities’. In this plugin and/or the example screenshots the labelling may be ‘Opportunities’ rather than Services. They are the same thing and should be treated as such.
- You can turn on/off opportunities sync as well as select the direction to sync opportunities: SuiteCRM to Outlook and Outlook to SuiteCRM
- You can choose to sync opportunities that are assigned to you individually or if you are a member of one or more teams, you may select the teams.
- For the initial sync, only opportunities that were created, modified or expected to close within the selected time-frame will be synced
Click the link to view how many opportunities meet the sync criteria that you specified.
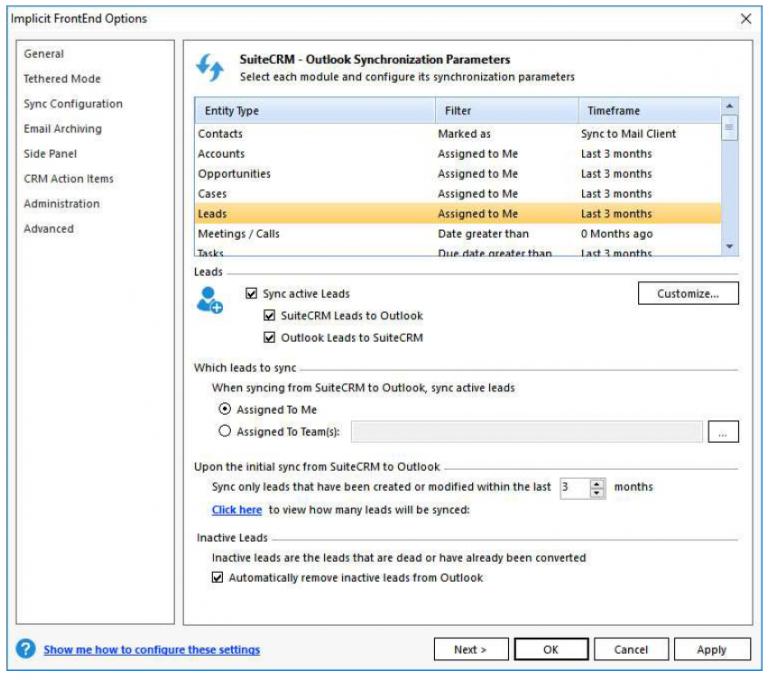
Leads Sync
- You can turn on/off leads sync as well as select the direction to sync leads: SuiteCRM to Outlook and Outlook to SuiteCRM
- You can choose to sync leads that are assigned to you individually or if you are a member of one or more teams, you may select the teams.
- You can choose to sync only Leads that have been created or modified within the selected time-frame.
Click the link to view how many opportunities meet the sync criteria that you specified. You can also specify a clean-up option to automatically remove any inactive leads from Outlook.
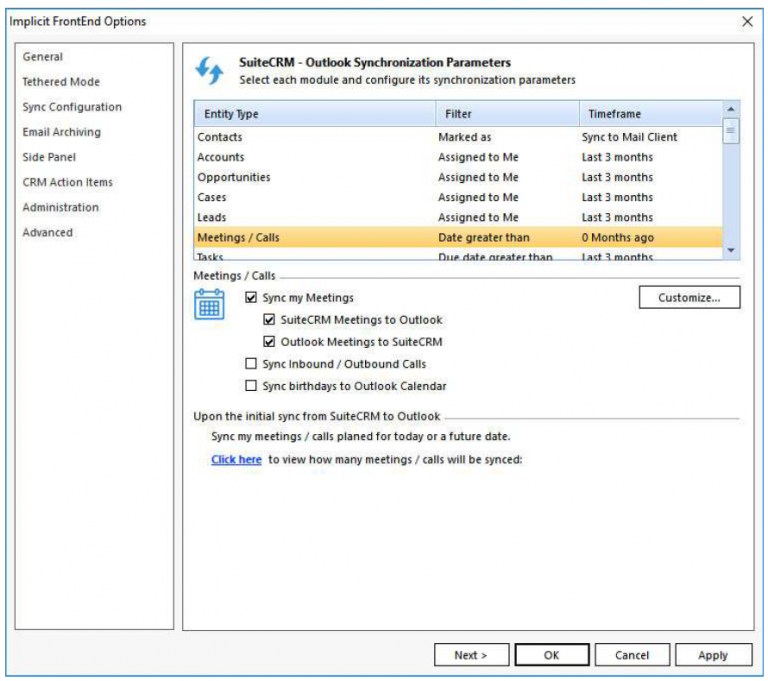
Meetings and Calls Sync
- You can turn on/off meetings or calls sync as well as select the direction to sync meetings / calls: SuiteCRM to Outlook and Outlook to SuiteCRM.
- Any of your SuiteCRM meetings or calls are scheduled today or in the future will be synced.
Click the link to view how many meetings / calls meet the sync criteria that you specified.
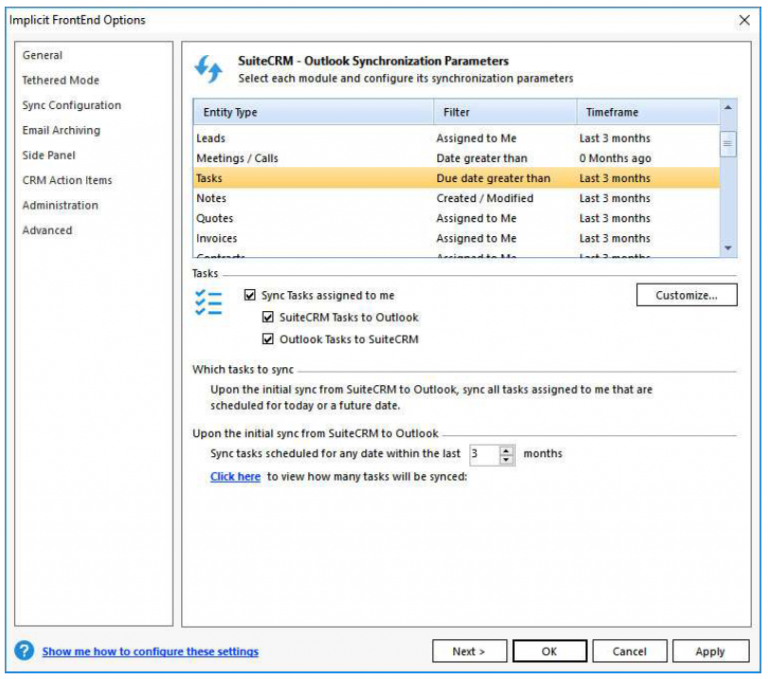
Tasks Sync
- You can turn on or off Tasks sync as well as select the direction to sync Tasks: SuiteCRM to
Outlook and Outlook to SuiteCRM. - Only Tasks assigned to you are synced
- Only Tasks whose due dates are greater than the selected date are synced
Click the link to view how many tasks meet the sync criteria that you specified.
Initial Sync Cycle
Once you’ve configured the filters for the various modules, the system will prompt you to start synchronisation. The Sync Now dialog allows you to select the type of items that you wish to sync to Outlook.

Select the items you wish to sync and click ‘Sync Now’.
Note: The initial sync cycle may take some time depending on the amount of records you have in your SuiteCRM account. During this time, the synchronization process will run in the background and you will be able to continue working with Outlook. If you prefer not to run the initial sync process at this time, click Close. You will be able to initiate this process at any time by clicking the Sync Now button on the toolbar.
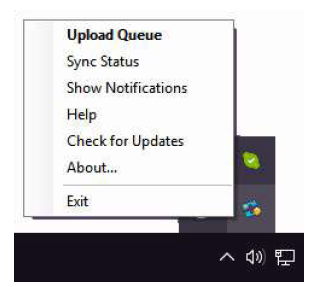
Upon Clicking ‘Sync Now’, the following dialog will come up to inform you that process will now continue on the background via the Implicit FrontEnd Taskbar application (as shown in the screenshot). The taskbar application will display bubble notifications at the end of each phase in the process and you can click on these bubbles to get additional status information.
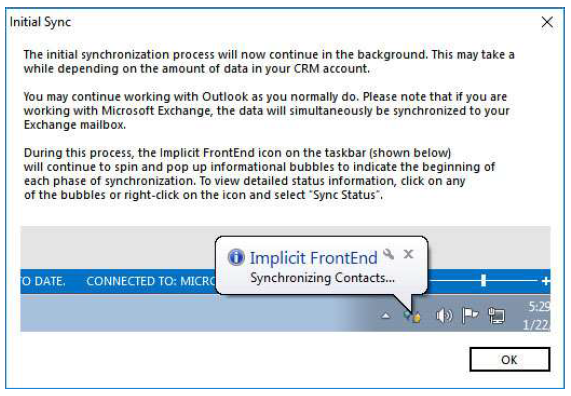
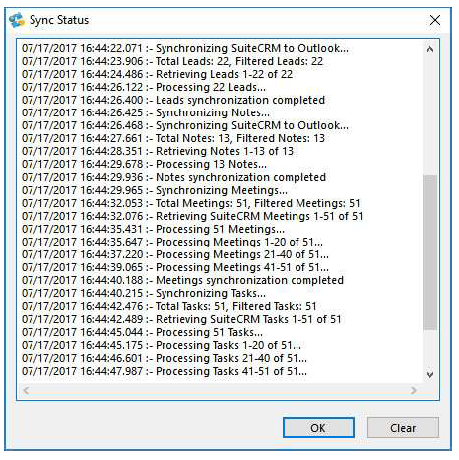
The Implicit FrontEnd taskbar icon will continue spinning until the initial sync phase is completed. If you’d like to view detailed information about which items are being sync, right-click on the taskbar app and select ‘Sync Status’
Note: During the initial sync, all FrontEnd toolbar buttons and menus are disabled until the process completes, at which point all functionality is enabled.
Email Archiving Settings
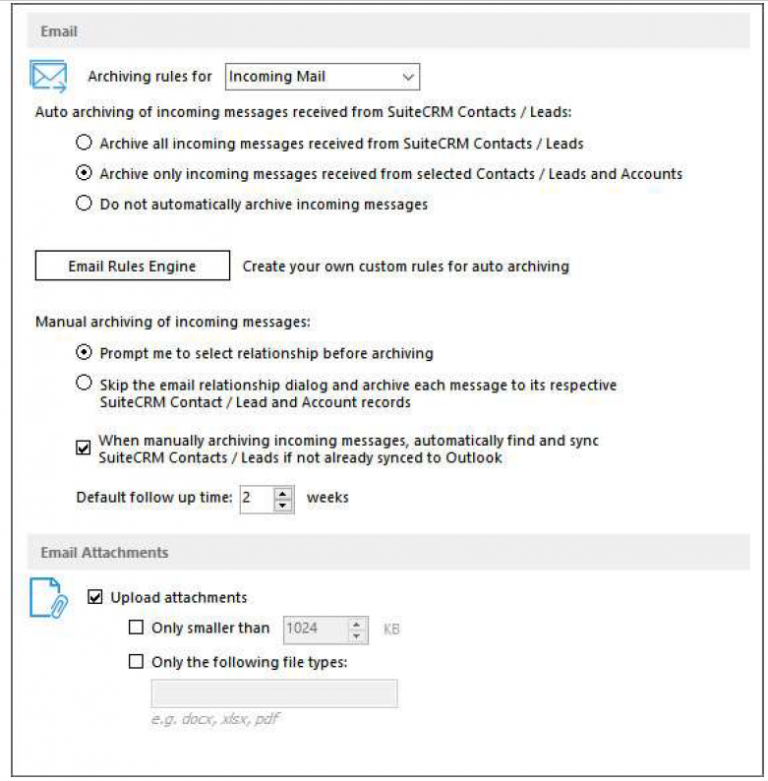
Email archiving options allow you to define the settings and rules for archiving incoming and outgoing email:
Auto-Archiving Settings
You can select one of the following options:
- Archive all incoming / outgoing emails received from or sent to SuiteCRM contact / leads – Implicit FrontEnd will examine each incoming / outgoing email. If it was received from or sent to a SuiteCRM contact or lead that has been synced to Outlook, Implicit FrontEnd will automatically archive the email to both the contact’s the account’s records on SuiteCRM.
- Archive incoming/outgoing emails received from or sent to selected SuiteCRM contacts or accounts – In this case Implicit FrontEnd will archive emails for those contacts and accounts for whom archive rules have been set.
- Do not automatically archive emails
Email Archiving Rules Engine
You can also use the Email archiving rules engine to create rules to archive specific emails depending on different sets of parameters such as the email addresses of senders/recipients, the account it was sent from / received, words/phrases in the email subject and conversation topics.
Manual-Archiving Settings
You can select one of the following options:
- “Prompt me to select relationship before archiving” – If selected, Implicit FrontEnd will prompt you upon clicking Archive Email to select the records (accounts, opportunities etc.) to associate the archived email with.
- Do not prompt – The archive dialog will not be shown and the default setting will be used to archive the emails to their respective contacts and accounts
- Automatically find and sync contacts/leads if not already synced to Outlook – When checked, and prior to archiving emails, Implicit FrontEnd will first search Outlook to find a matching contact/lead. If not found, it will search SuiteCRM and if the contact/lead is found on the server, it will sync it to Outlook and then archive the email.
- Default follow up time
Email Attachments
You can select one of the following options:
- Archive attachments
- Maximum attachments size
- Limit the file type to the specified list of file extension (comma delimited)
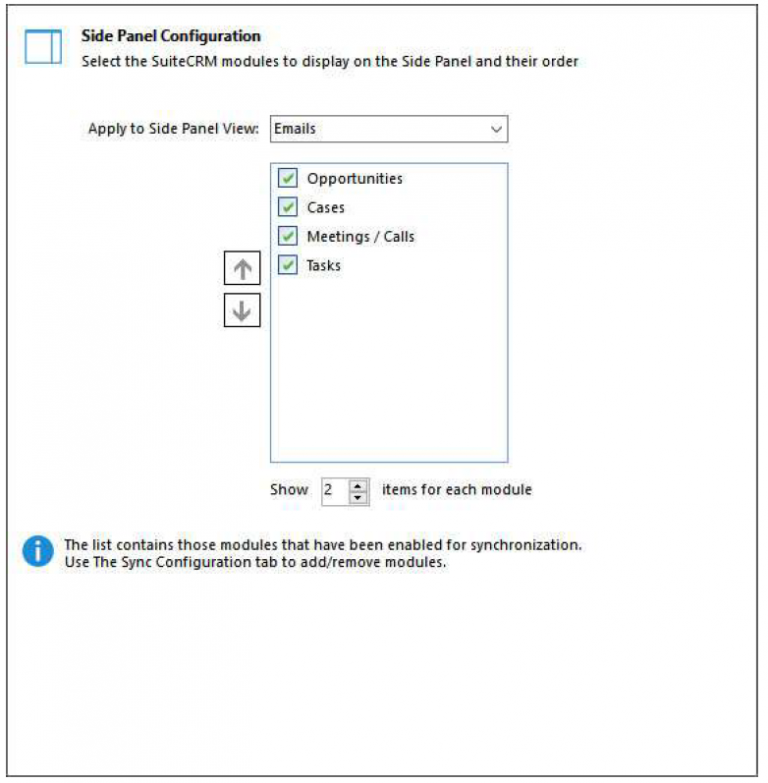
Side Panel Settings
This Side Panel configuration tab allows you to select which modules (out of the ones that you enabled under the sync configuration tab) will appear on the Side Panel and their order of appearance. Simply enable the ones you would like to see and use the arrow buttons to re-order the list. You may also configure the maximum number of records to show under each module in the Side Panel.
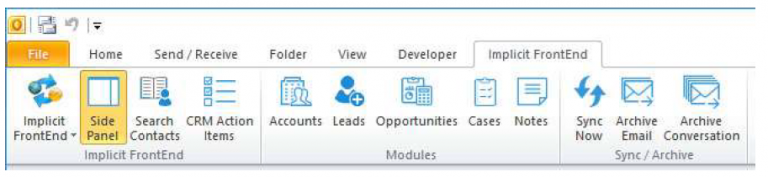
FrontEnd Ribbon
The ribbon consists of the following:
- Implicit FrontEnd drop-down menu:
- Login – Launch a browser and go to SuiteCRM login page
- New: Contact. Lead, Meeting, Task, Account, Opportunity, Case, Note
- Help – Launch a browser and go to user guide starting page
- Options – Launch Options dialog
- Side Panel – Turn side panel on/off
- Email Rules Engine – Launch email rules engine
- Check for Updates – Check if new version of Implicit FrontEnd is available
- About
- Side Panel – Turn side panel on/off
- Search Contacts – Search for contacts on SuiteCRM
- CRM Action Items – Launch CRM Action Items lists’ viewer
- Accounts – Display accounts list
- Opportunities – Display opportunities list
- Cases – Display cases list
- Leads – Display leads list
- Notes – Display notes list
- Sync Now – Manually
- trigger synchronisation cycle
- Archive Email – Manually archive select email(s)
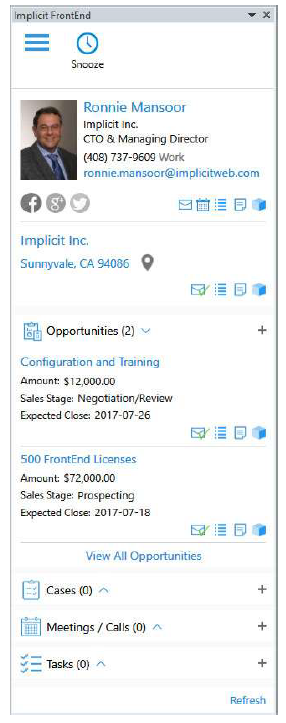
Email Side Panel
FrontEnd Email side panel is an extremely useful and functional feature to view pertinent CRM information related to emails and take immediate actions.
The side panel is divided into sections:
- Contact / Lead information
- Account Information
- Modules information (based on the modules selected under the side panel option)