How Can We Help?
Quick2Email Overview
Quick2Email is a tool to quickly email a single address or multiple addresses at once.
It should only be used for transactional emails and not marketing. As these emails come from your server it could result in being marked as spam, or worse blacklisted. Use a proper email marketing platform such as Campaign Monitor for marketing.
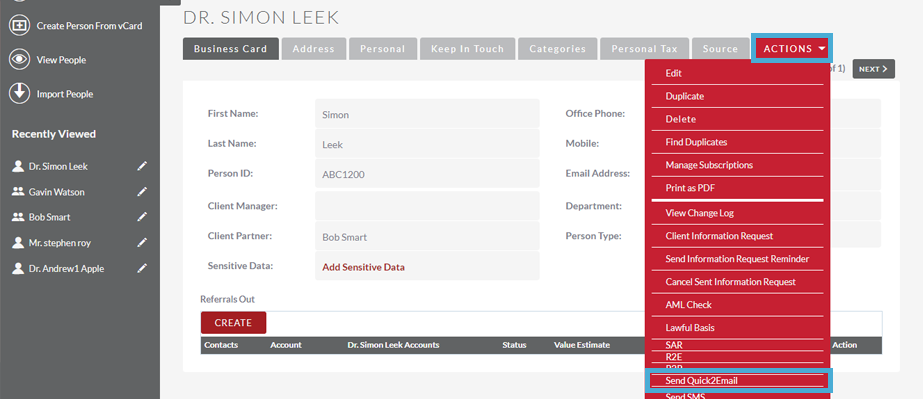
To access Quick2Email, go to the detail view of the record. Click on “Actions” → “Send Email”
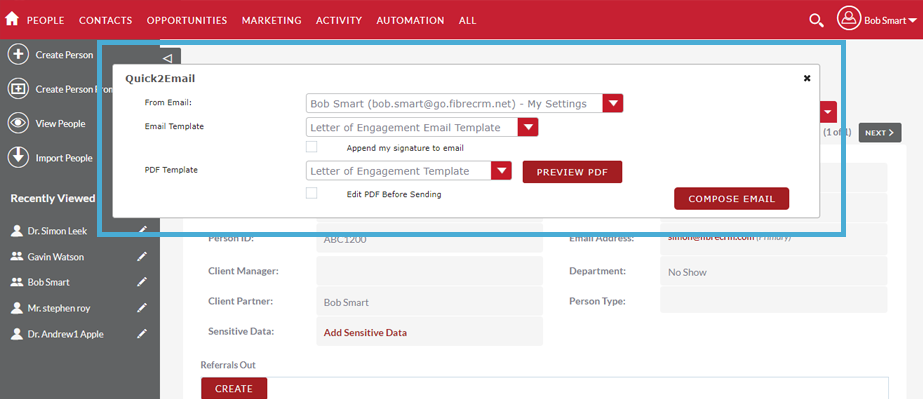
Clicking this will bring up the following form:
You can select which email address you wish to send from, by default just your email address will be available.
To add further email addresses, see below.
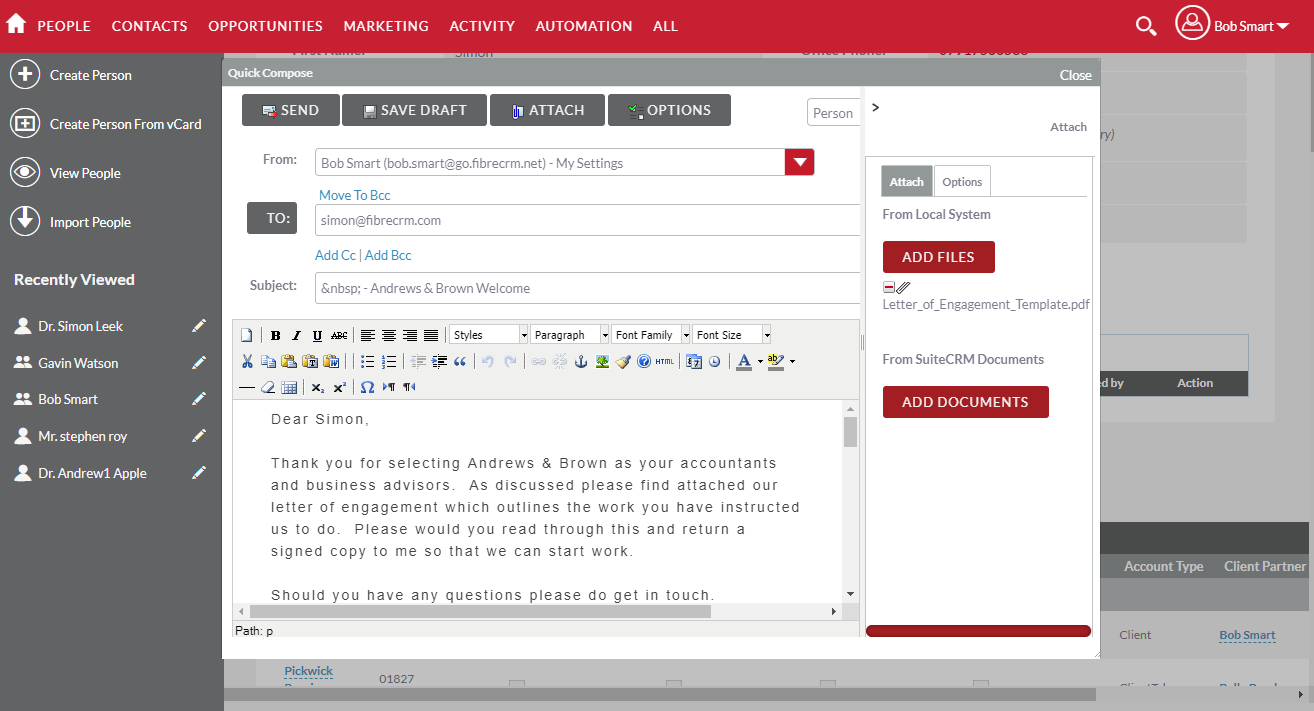
Once you have selected you email template (and optional PDF attachment), click on compose email. Here you will see a preview of your template which you can edit.
From this view, you can attach files from either your computer or from the CRM, again change who the email is coming from, or change the template for another one.
Once you have made the changes you want, and attached what you need to, click send and the email will be queued to send.
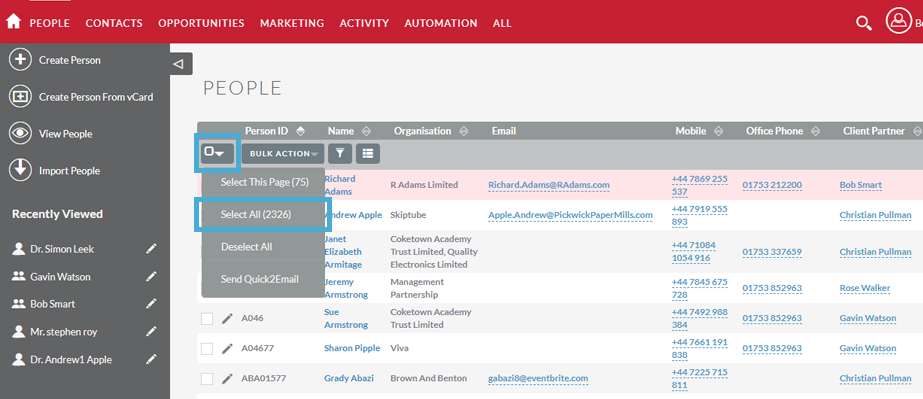
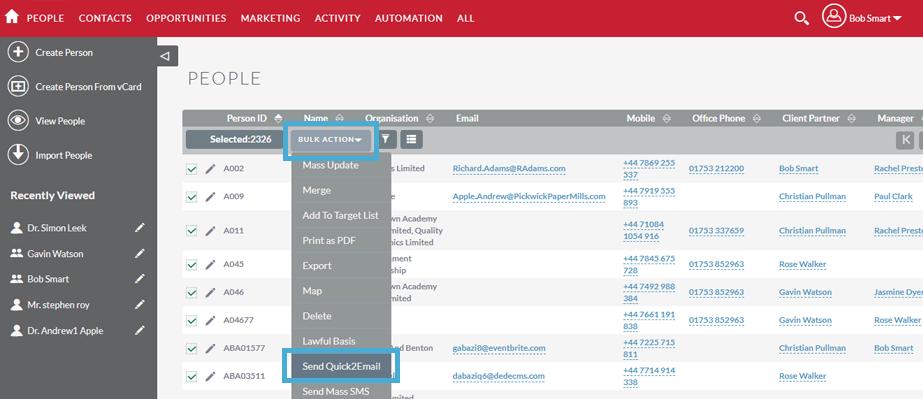
To send mass email to multiple records, head to the module you wish to send to (Organisation, People, Leads) and filter the list by using the advanced search. Popular filters to use are by target list, services or location.
Select all the records you wish to mail to or select all as below.
Once everyone is selected click on the arrow next to the “Bulk Action” button and click send Quick2Email.
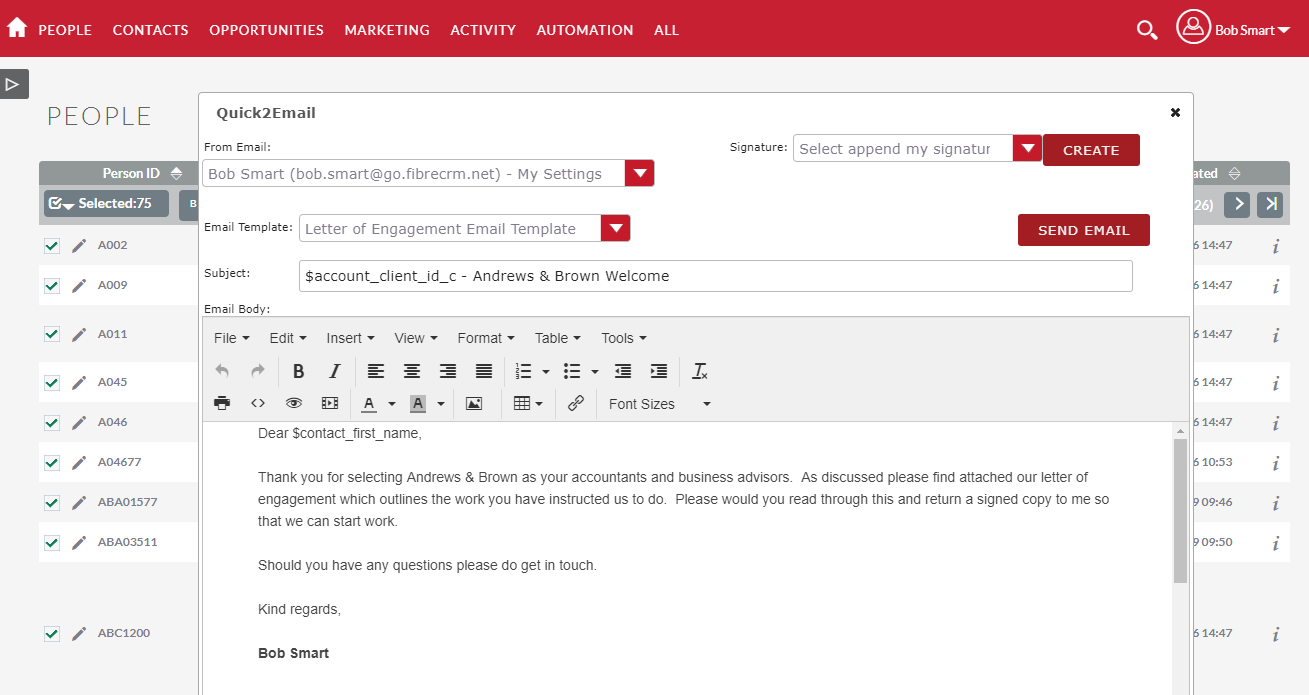
A similar form will appear for you to select the send from address, the email template and signature. Remember that merge fields may not populate as you’ve selected multiple records.
Once you are happy click on send email and the email will begin to send.
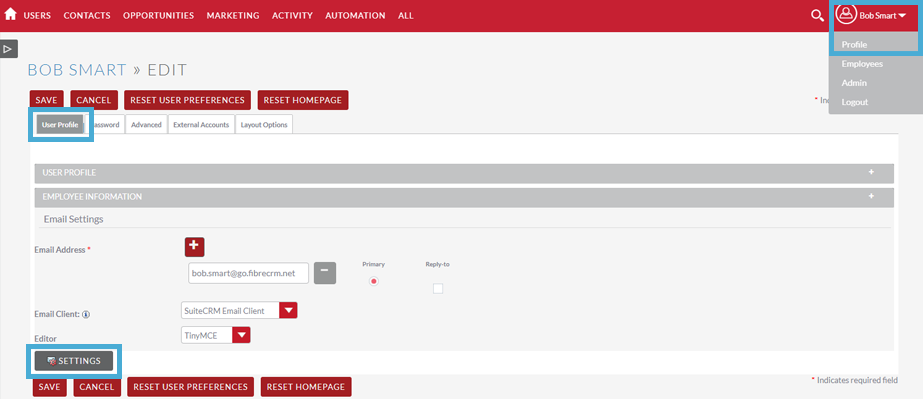
To add additional outbound email first head to your profile, by clicking on your name in the top right.
Make sure you’re on “User Profile” then scroll down to “Email Settings”. You then want to click on the “Settings” button.
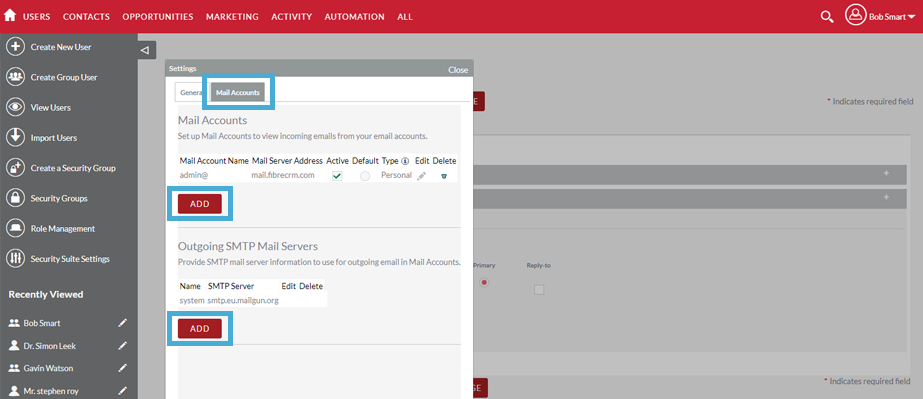
Select the mail accounts tab then the add button under mail accounts.
You will need to fill in all the details for both the inbound and outbound email. These details can be obtained from your IT provider.
You will now be able to send from this account along with your default address.
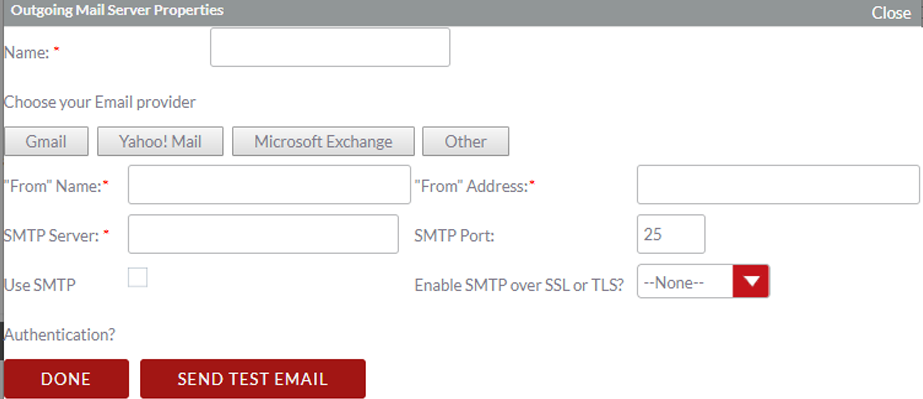
If you have a relay setup for your outbound email the process is slightly different.
You will need to set up the out bound as above, but the outbound will not require SMTP authentication or SSL.
The default port is 25 but this could vary, so you can always ask the support team first.
The SMTP server can be obtained from your IT support or ourselves.
There is no need for a username and password with this setup.