How Can We Help?
Configure Selection on the Navigation Menu – User Guide
To move around the CRM you’ll use the Navigation Menu located at the top of the screen. The navigation menu is broken down into sections that contain different modules in each one. In this guide you’ll learn how to make any changes to the navigation menu you need to suit your users in your firm.
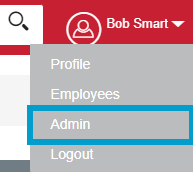
To configure your Navigation Menu first navigate to your
username in the top right hand corner and in the drop down menu select Admin.
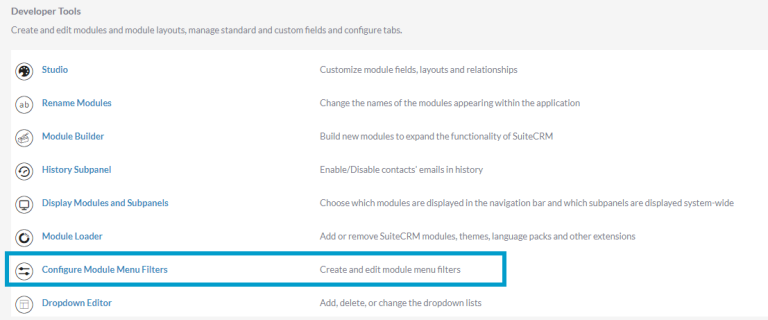
In Admin scroll down to Developer Tools and then select Configure Module Menu Filters.
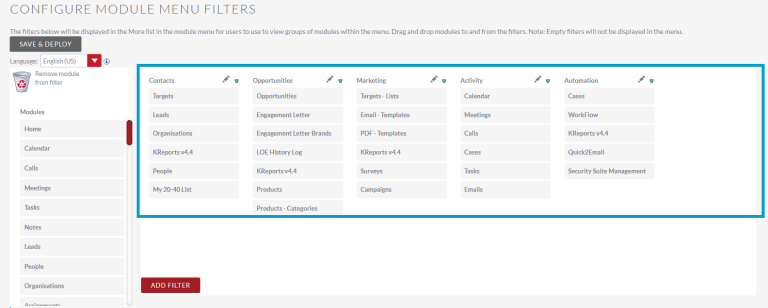
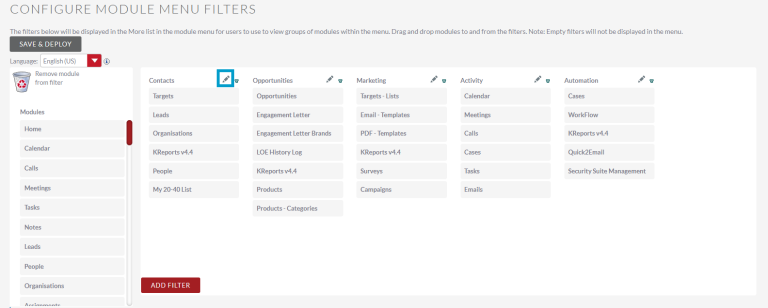
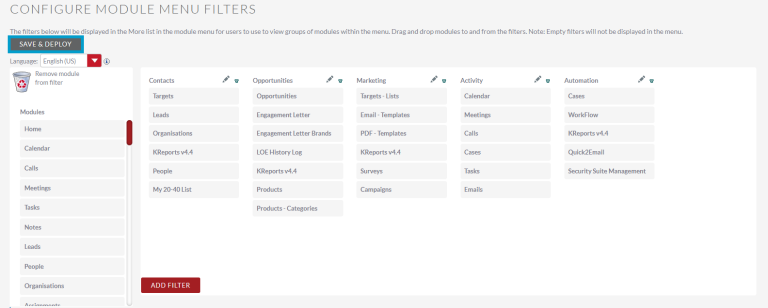
On the Configure Module Menu Filters page you’ll see the list of sections you currently have in your menu these are called Filters. Below the Filter headings you’ll see the list of Modules currently listed on your menu.
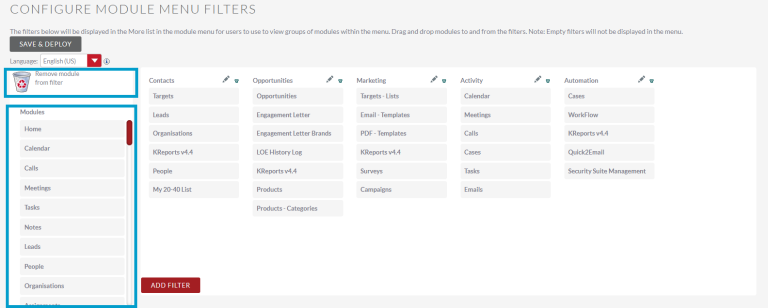
To add a Module to a Filter, select the Module you require from the Modules List on the left hand side and then drag and drop the Module into the Filter you would like. To change the order of the modules in the filter just drag and drop the Modules again. To remove a Module from a Filter drag and drop the module into the Remove Module From Filter bin located above the Modules List.
To rename a filter to something different in the menu select the Pencil Icon to the right of the name. Type in what you’d like to change it and then click out of the box to finish the change.
Once you’ve made all your changes click Save & Deploy. Any changes you’ve made will now be available in the Navigation Menu.
To download the Configuring the Selection on the Navigation Menu cheat sheet click here