How Can We Help?
Mass Sending Engagement Letters
In this guide, you’ll learn how to mass send engagement letters for renewals to existing clients in FibreCRM.
Before sending engagement letters in bulk, you must configure your cover letters correctly.
Why This Matters
What You Should Do
If you’re unsure how to update or duplicate templates, check the Support Portal here: https://support.fibrecrm.com/learning/engagement-letter-renewals
Before using the mass send feature, make sure the following conditions are met:
If there is no active schedule linked to the client, they will not be included in the engagement letter process.
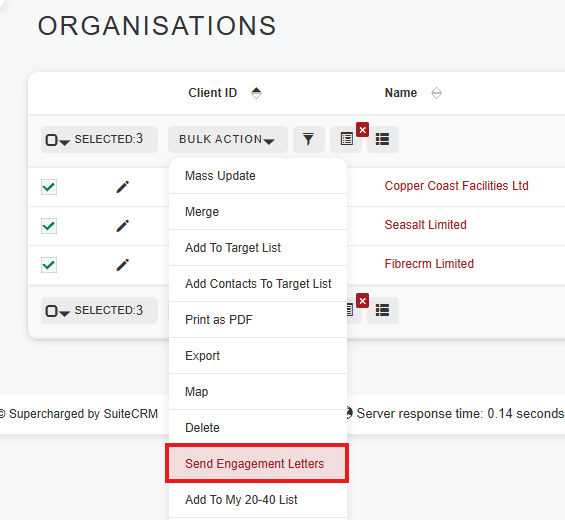
To send a Mass Engagement Letter navigate to the Person/Organisation module. Use the search to bring up a list of clients and then on the left hand side select the records you’d like to send the Engagement Letters to.
Once selected click the bulk action button and from the dropdown select Send Engagement Letter, this will open the mass engagement configuration window.
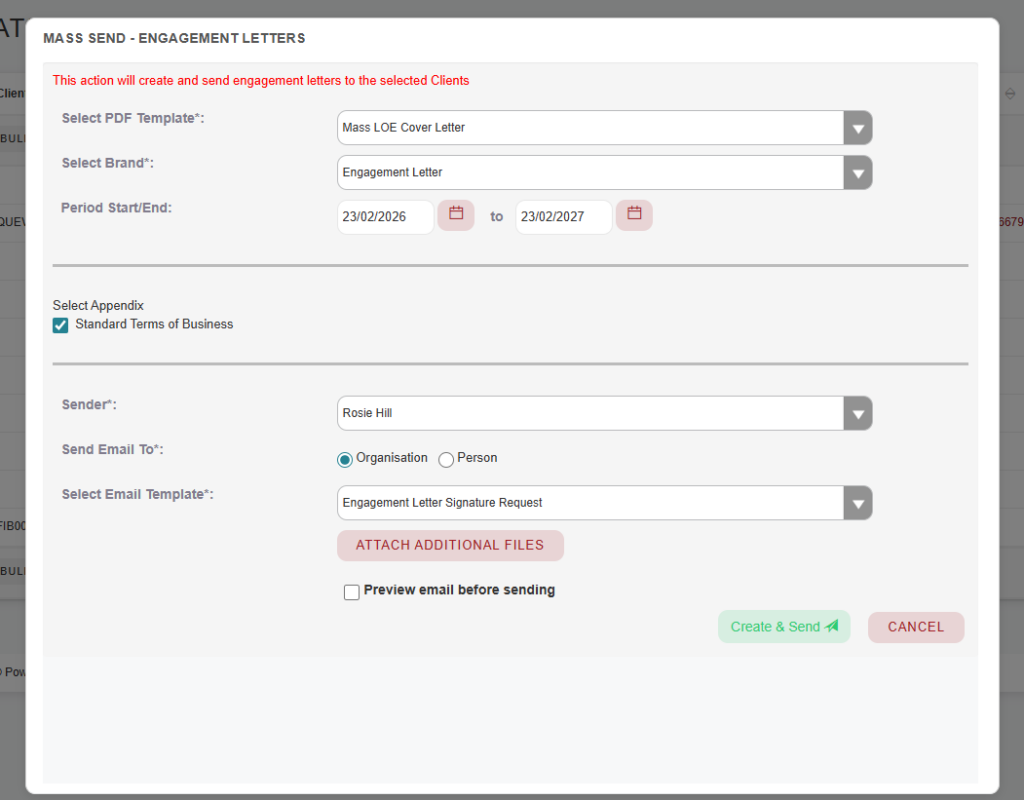
You will then complete the required fields:
You can send to for Organisations:
If sending from the Person module it will send to the Primary Email.
Once all fields are completed, review your selections carefully and click Create & Send.
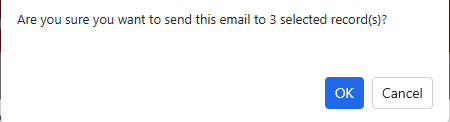
A further pop up will then appear and ask if you’re sure you want to send to the selected records click Ok.
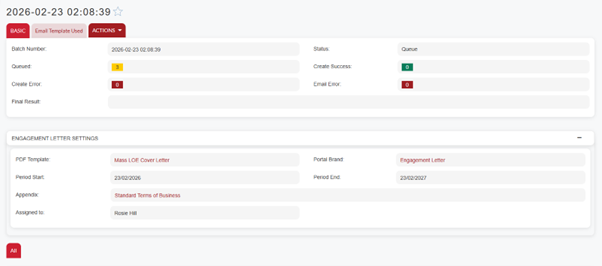
The system will send engagement letters to all selected records and you’ll be redirected to the sending batch queue record.
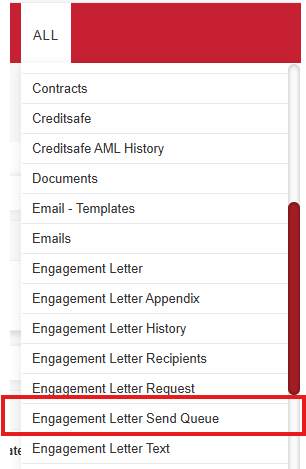
Once the Engagement Letters have been sent you can see information on the sending in the Engagement Letter Send Queue which you can access from the All tab in the navigation menu.
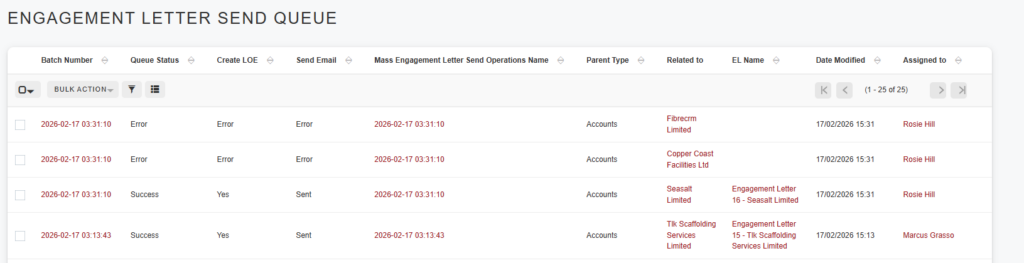
Here you can see which clients have successfully had engagement letter sent and any ones that have not been sent due to error.
You can also see if the LOE has been successfully created, what the parent type was such as Organisations/People, what record it’s related to, if the email successfully sent and which record it is related to.
Engagement Letter records will also be created which can be viewed in the Engagement Letter module where you can see the status of the Engagement Letter request such as if the client viewed, accepted or declined the letter.
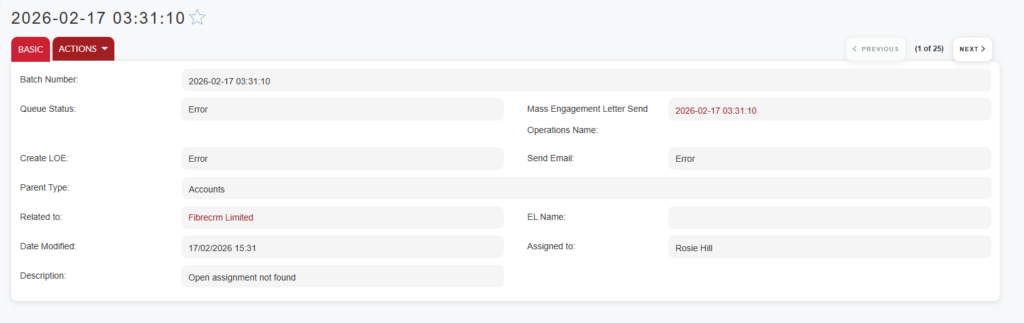
If there is an error select the batch number and it will take you into the record. Here it will show you if there was an error and the reason for the error such as Open Assignment not found.